Living as a student in Ann Arbor, Michigan without a car can be a little tricky. The city is plenty walkable for North America, but long distances can become time consuming, especially in periods with fewer buses. You’re often limited to shopping at the nearest small grocery store or paying for food delivery with less than spectacular results. So in spring 2025 I bought a mountain bicycle with the intent of making it into an electric bicycle: a way to both get some exercise and travel medium distances with ease.
Why an e-bike instead of any other vehicle?
Many years ago, when I was in high school, I saw the YouTube Creator Tom Stanton build an e-bike using an off the shelf motor intended for model planes and using it to drive the bicycle’s wheel with a belt and I became obsessed with the idea of turning a bicycle into something much greater.
Additionally there are plenty of practical advantages to an e-bike. There’s no need to pay for parking, pay for expensive insurance for those under 25, fueling is almost free, and maintenance is much more economical and doable alone. It has limitations but even a premium e-bike would cost me far less to run than a moped, especially when considering insurance.
Why build the e-bike instead of buying it?
A pretty reasonable question to ask myself before even starting an e-bike conversion is whether it makes any sense. Especially when considering the final cost of my build was around $3,500 USD (more on the cost breakdown later), one could consider buying an equivalent off the shelf vehicle or even a cheap motorcycle.
I think for the layman this would indeed be the better choice. There’s no work put in and you have something clean, probably more reliable and something with a warranty behind it. However, I wanted to build something very powerful (which no company would sell directly to consumers) and I wanted to gain all the mechanical and electrical knowledge that comes with it. The hands-on experience would be fun, further me on my path to becoming an engineer and in the end give me a sporty yet practical vehicle.
The motor, battery and frame
For any e-bike conversion the two most important things to consider are what motor you will choose and what bicycle frame you will put it on. Usually one should pick the motor first as that determines how the end result is actually going to propel you and the motor’s size and shape determine what frames are viable. Of course, the motor and frame choice are completely dependent on your use case: how fast you want to go, how you want the motor to behave, what terrain you’ll be going through, etc.
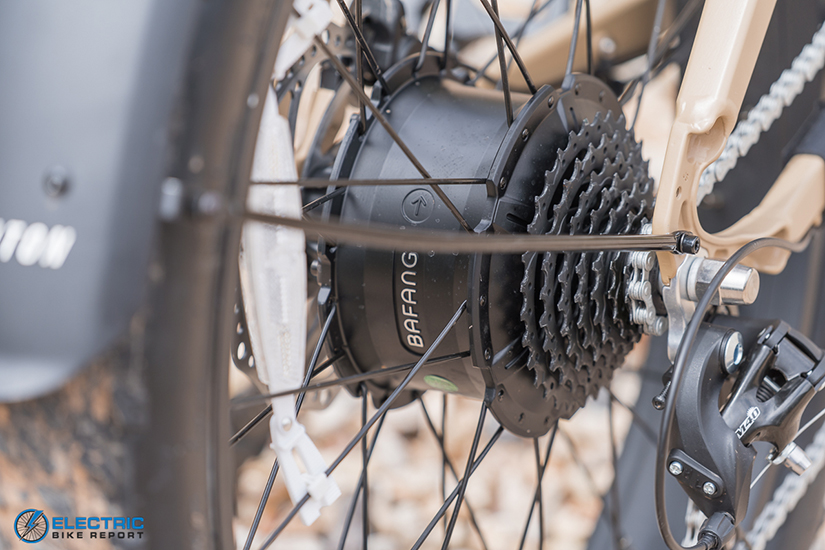
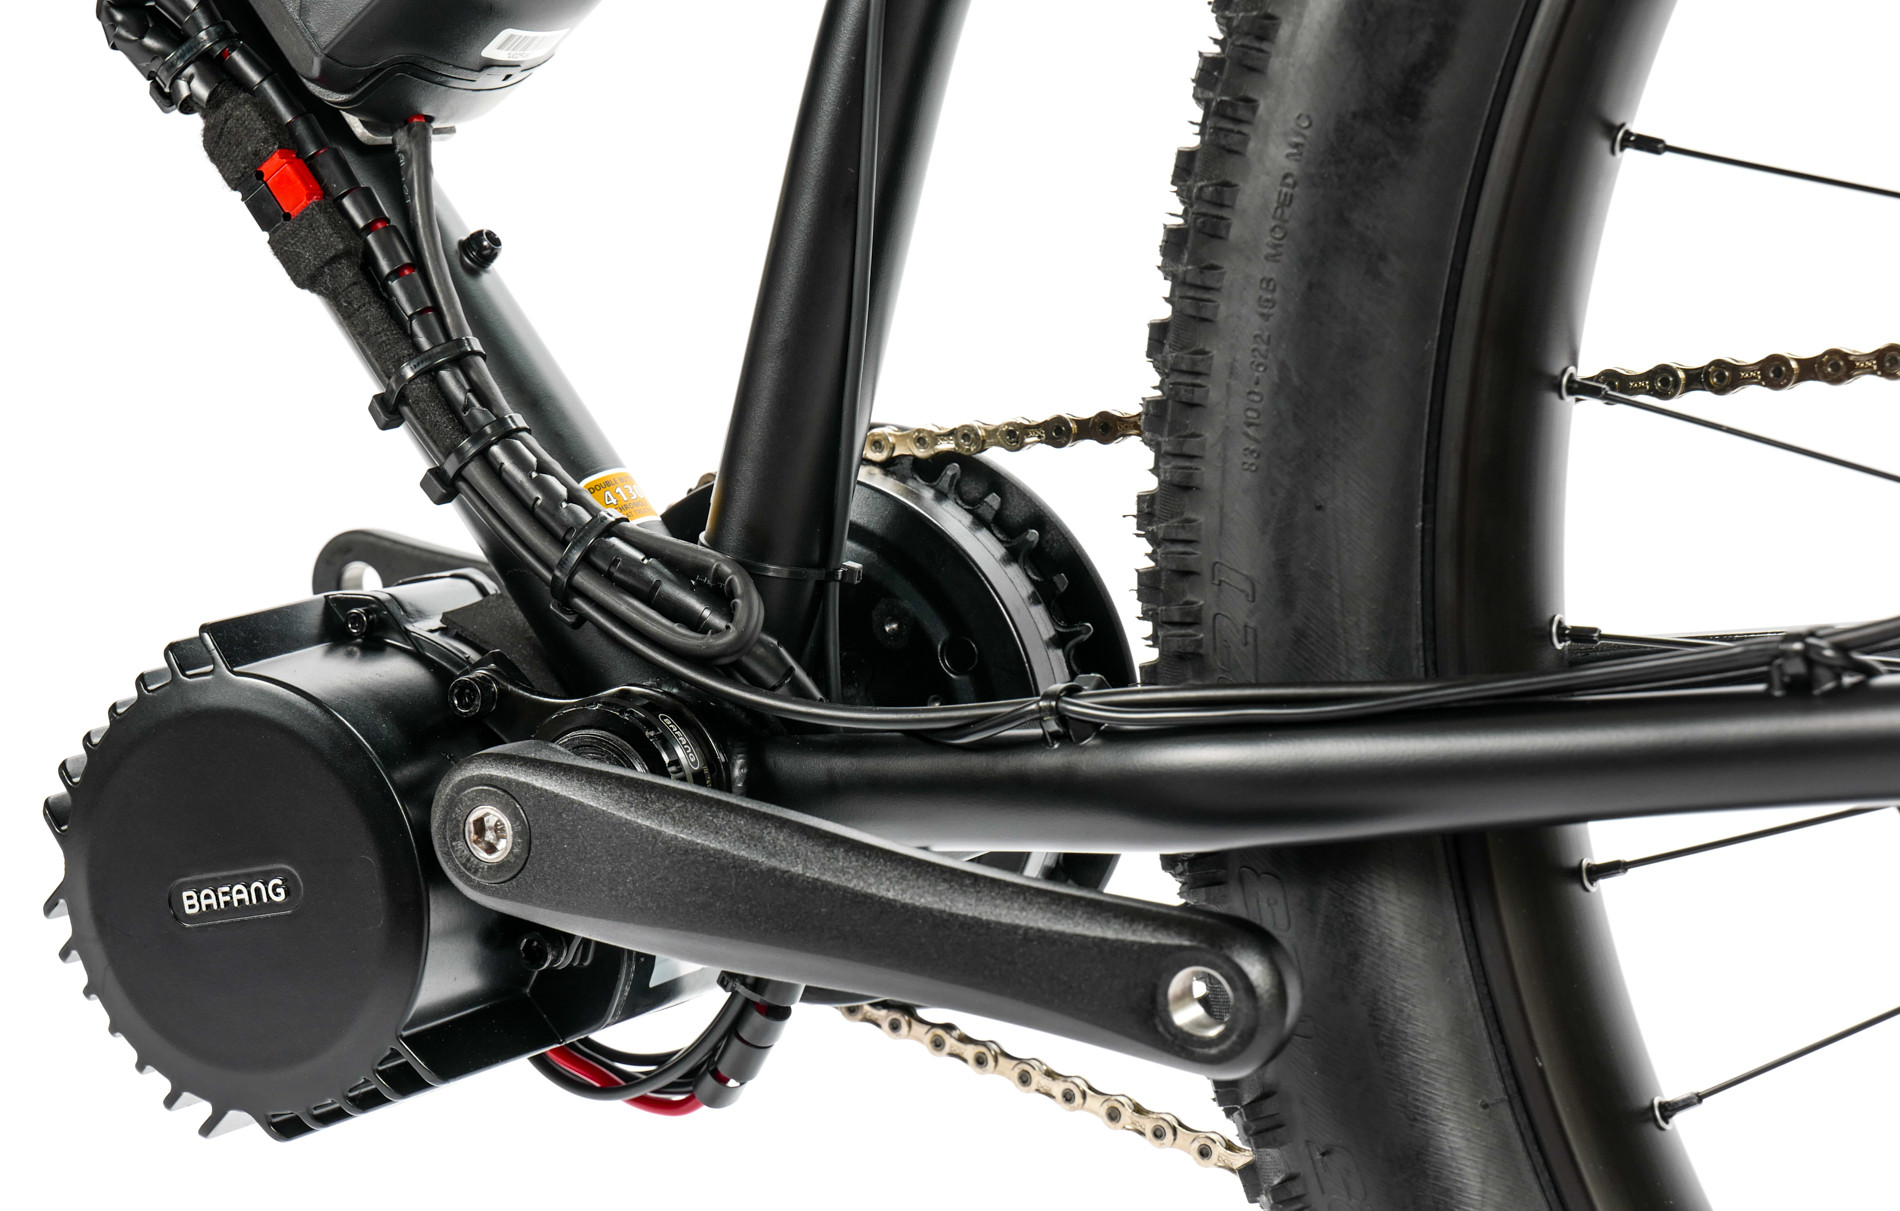
In my opinion the most important thing about the motor’s behavior is whether it’s a hub motor or a mid-drive motor, as this completely changes the needs of your frame and the power delivery. Hub motors are pancake shaped objects that mount (as the name suggests) directly to the hub of the rear wheel of the bicycle and spin the wheel, the same way an electric scooter works. Meanwhile, mid-drive motors are mounted in the bottom bracket (where the pedals of the bicycle attach to) and drive the chain of the bicycle, giving you access to the same gearing system of the bicycle that you have when pedalling normally and giving a more “analog” bicycle experience and the ability to have much higher torque at the same power level.
In my case, I’m going to be commuting in a city with mostly smooth roads and sidewalks and medium sized hills. I want something high powered enough to be able to keep a good speed when mixed with car traffic, be fun to ride, but also let me put in work comfortably. These factors made me decide that a mid-drive motor between 750W-1000W would work the best for me, as I would be comfortably within the motor’s power limit, would be able to climb hills easily and go for a spirited ride, for reference.
Within this class of motors, the ToSeven DM01 1000W stood out to me as a very capable motor at a good price point. It had something very important to me which was torque sensing, the ability to detect the torque the user put on the pedals and give a proportional amount of power assist. This is as opposed to other similarly priced motors like the Bafang BBSHD which only offered cadence sensing, similar to the type athletes use to track their pace, but is not as accurate in terms of being able to provide a bicycle-like experience as cadence and torque are not always correlated. Consider having the get a bike moving from a stop in a high gear versus slowly trudging up a hill in a low gear: the revolutions per minute of the pedals1 are similar but the torque being put down is drastically different and thus the assistance given should be different as well. The only other appropriate motor would be one of the ones made by the brand CYC and would easily cost double what Bafang, ToSeven and others make. For reference a world class athlete could probably hit 450W for a sustained period of time, the nominal (maximum sustained) rating of this motor easily exceeds double that.
Now that I’ve chosen a motor, I need to find a battery to pair along with it. I had dreams of being able to traverse across towns, although that feels a little excessive now, so I wanted a huge battery that would never leave me wanting more. Batteries larger than 15 or 20 amp hours that were the voltage I needed (48v or 52v) were very expensive, at times easily surpassing the actual cost of the motor. Thankfully in my time on the wonderfully useful High Voltage Light Electric Vehicle discord server I found a user willing to make a custom battery fitted to my bicycle frame that was much larger than anything of a standard size I could find: a whole 25Ah. To maximize power output from the motor the 52v architecture was chosen, which meant the final battery would have a whopping 1250 watts of energy or about 2% of the smallest battery available on the Tesla Model 3. They warned me that the battery would take a few months to make as they were going in for a surgery soon, but I knew I wouldn’t finish the e-bike before summer break that year, so I had plenty of time to wait.
Okay, great, I chose a motor and battery, so now I needed to find a bicycle. My requirements were that it needed to fit the mid-drive motor, a big battery and be overbuilt enough to take the much higher forces that an electric motor will put on the frame, thus an older style mountain bike with only front suspension is far and away the most appropriate choice. Why the older style? Modern mountain bike designs tend to have swooping areas around the bottom bracket and wide tires (which require wide chainstays) which leaves little room for the motor to fit in the bottom bracket without either hitting the chainstays or leaving very little ground clearance. Why no rear suspension? Rear suspension sounds like something purely beneficial, but cheap rear suspension can be heavy without adding much benefit and more importantly the moving linkage leaves little room for a battery inside the frame of the bicycle.
My next step was to scour Facebook Marketplace, Craigslist and all the usual sites to find an appropriate bike at a good price. Unfortunately I couldn’t find a good deal on an appropriate bicycle and being without a car left searching for a used bike further away anywhere between impractical and impossible. Therefore, I was limited to buying a new bicycle: either online or at one of the local bike shops. Being the cheap bastard I am and planning on changing basically everything on the bicycle anyways, I looked for a bicycle with a frame that met my bare requirements: fitting the motor and not getting me killed. Entry level bicycles from brands such as Trek didn’t convince me: the paintjobs seemed nice but the value for $600 and sometimes $800 just wasn’t there. Even direct to consumer brands weren’t cheap enough that I couldn’t beat them with some upgrades to something cheaper, plus I’d have to assemble the bicycle myself. Assembling a bicycle didn’t intimidate me, but I wanted something already put together as at the time of buying I lived in a small college dorm.
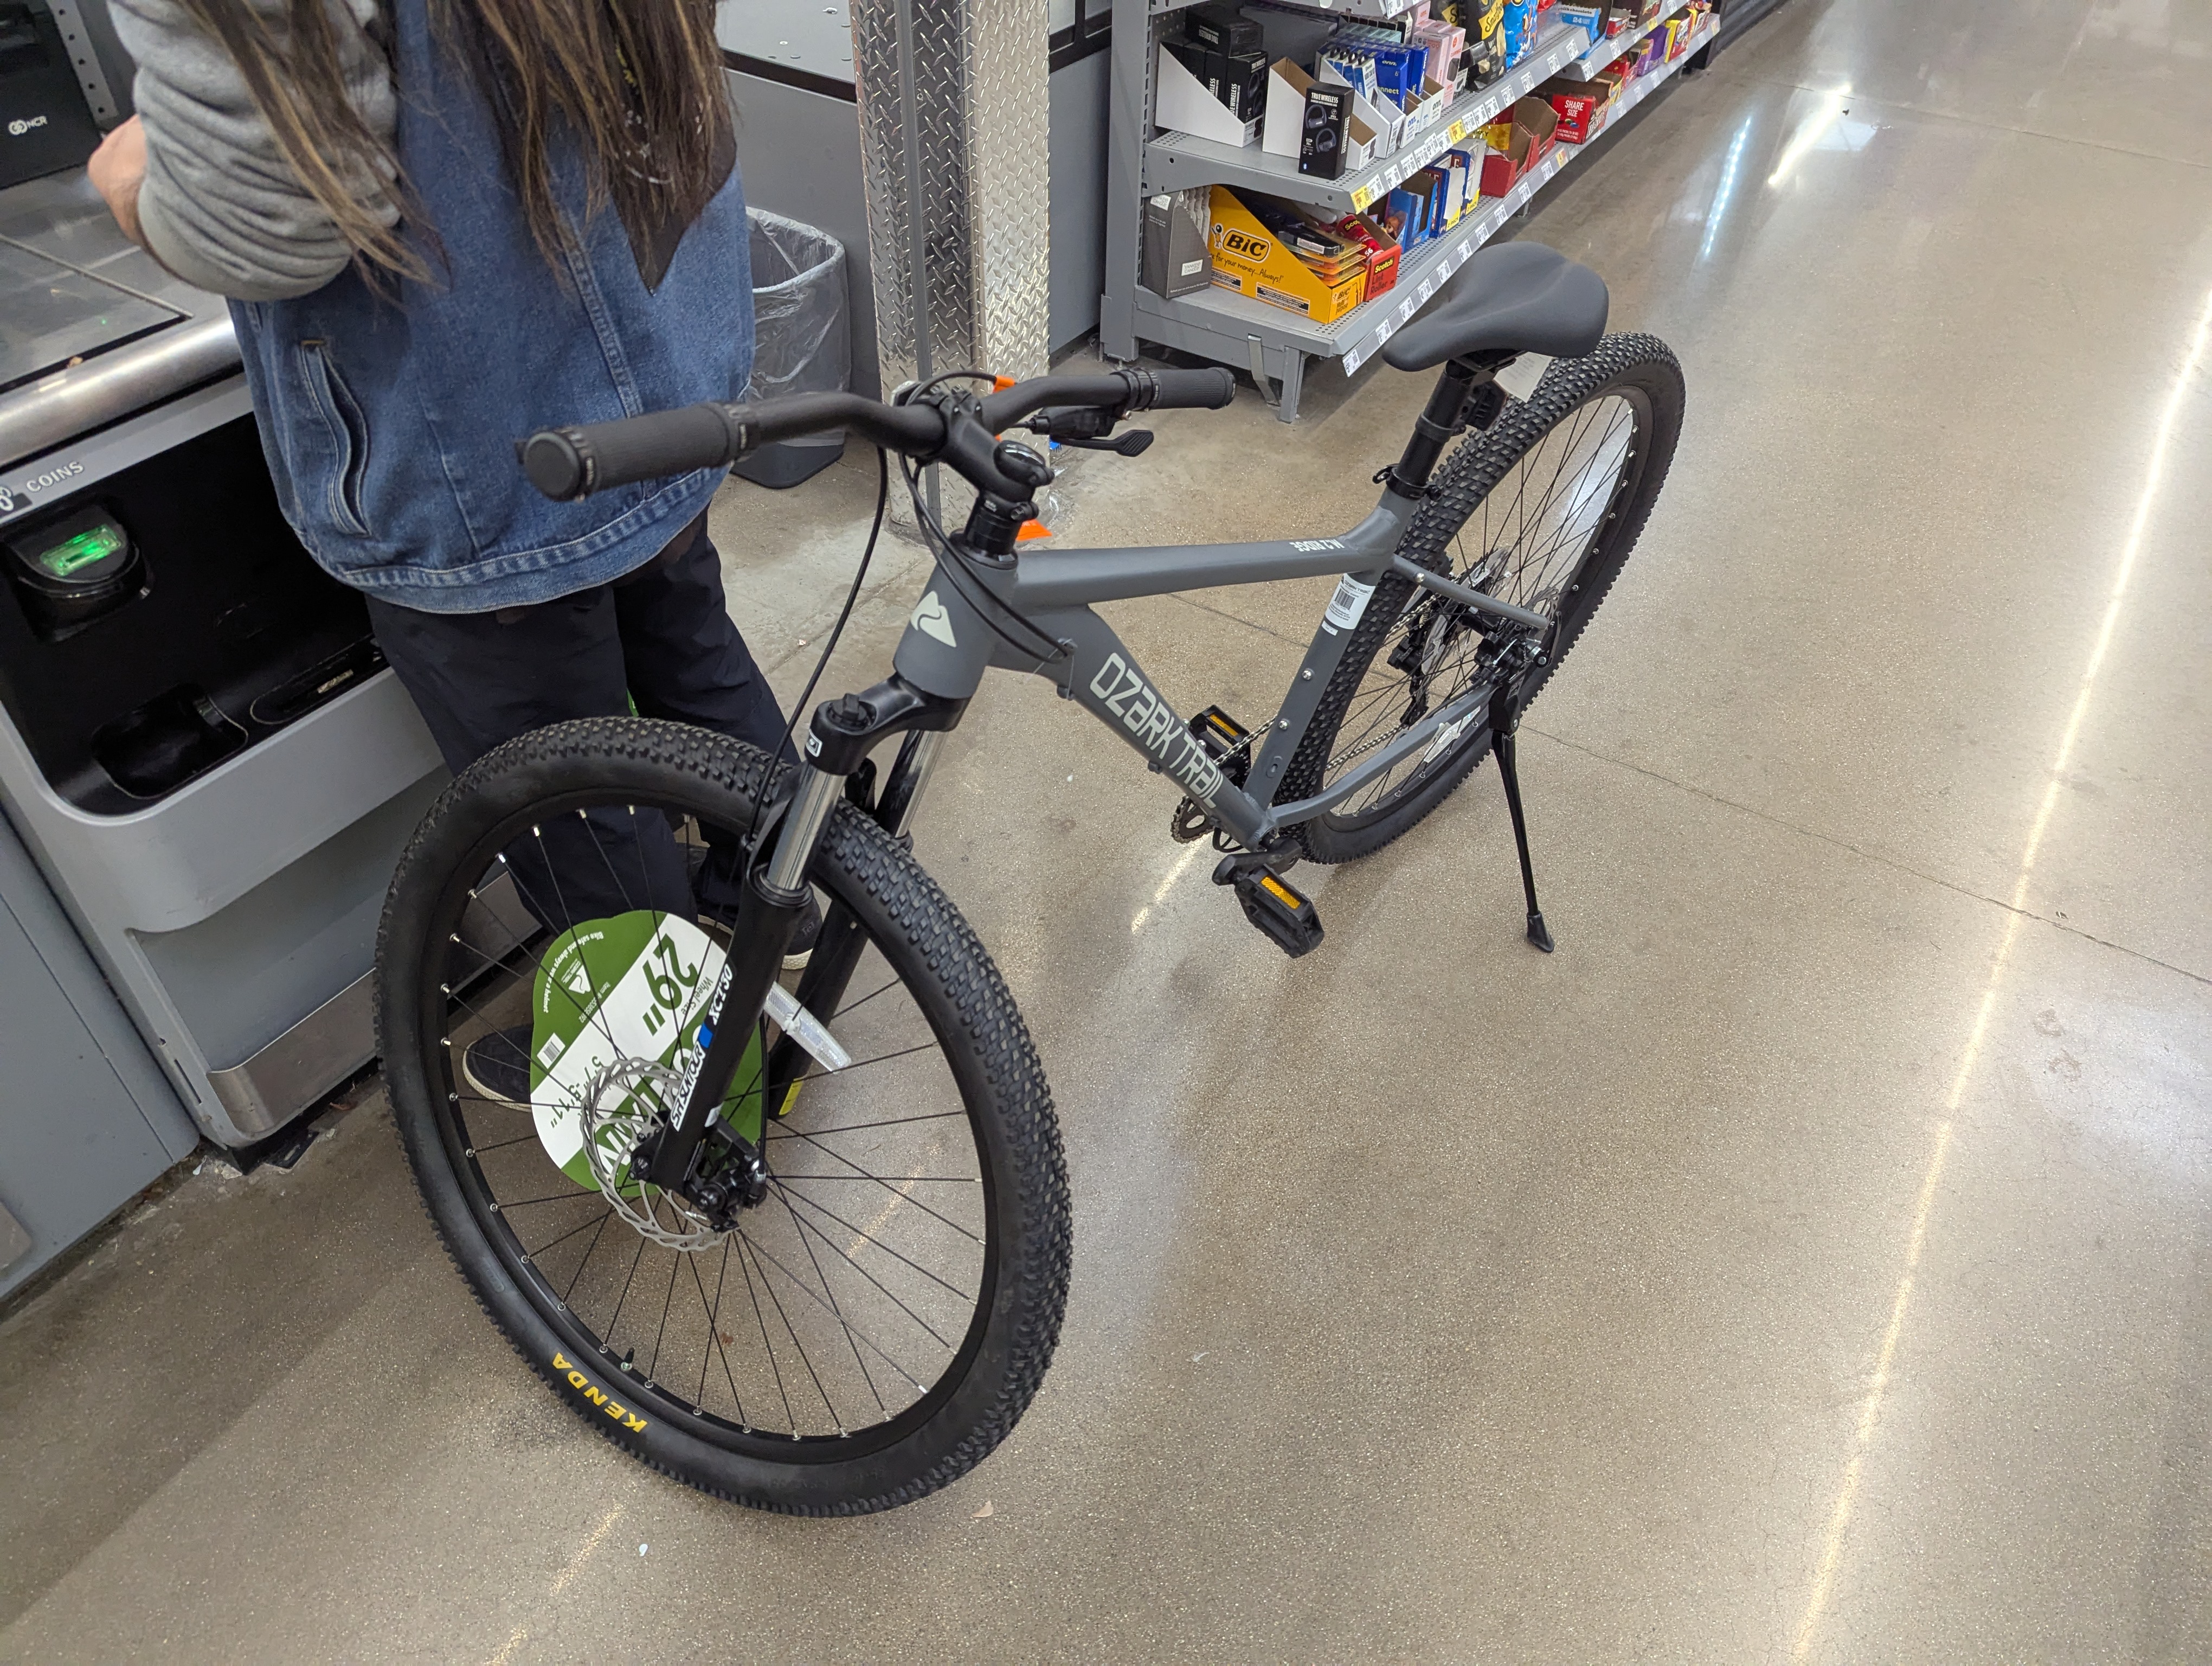
So what did I decide on? A Walmart bicycle. To most bike enthusiasts this sounds like about the last place you’d want to buy a “real bicycle”, and for the most part they’re right: bicycles sold at big box stores like Walmart are generally cheap, not built to last, have obsolete irreplaceable parts, are not sized for different riders and are generally more of a bike-shaped-object than anything else. However things have been changing recently, Walmart’s camping subbrand Ozark Trail has begun selling some competent mountain bikes with standard interchangeable components and good build quality. They’re made well enough that actual mountain bikers say they’re recommendable to newbies. Thus, I took a trip with a friend who had a car to Ann Arbor’s nearest Walmart (which isn’t even in Ann Arbor) and purchased an Ozark Trail Ridge 29” in Medium.
Here I am: $421.88 poorer than before I took this picture.
The build plan
Rewinding to before I bought the bicycle, I had prepared a spreadsheet with all of the projected costs, both for myself but more importantly so I could write a grant application to help with the pretty high costs of the project. In the end I did receive this grant, to which I’m super thankful to the University of Michigan as it helped cushion a lot of the expenses and let me avoid any compromises.
As part of my plan I decided to do every upgrade on the bicycle incrementally, leaving electrification as one of the last. This was for numerous reasons:
- The ability to keep using the bicycle even without electrification as my regular commuting vehicle and enjoy each upgrade
- Ensure that each modification I made the original bicycle was functional instead of troubleshooting a nest of compounding issue
- Spread out the costs of the expensive modifications
When making my spreadsheet I kept in mind a lot of modifications I wanted to make to ensure my e-bike was safe, reliable and actually pleasurable to use. I followed a lot of the advice the late Matt Robertson posted on his blog, Tales on Two Wheels. Specifically his post titled How To Build A Mid Drive Ebike That Doesn’t Break was definitely a huge help.
The big upgrades that were must-do were: changing out the brakes for hydraulic brakes and swapping out the drivetrain for something made out of steel. Most modern lower end bicycles come with cable actuated (mechanical) disc brakes, which are not inherently bad but are usually very underpowered on these bicycles, hydraulic brakes are a must for safety especially at the speed e-bikes consistently travel at. As for the steel drivetrain, the wear of high power mid-drive motors put on sprockets is very high and softer cogs would instantly wear out and throw everything out of alignment.
Other smaller things I wanted to do that are common to swap on any bicycle are: changing the grips, changing the pedals, adding lights and mirrors, changing tires, adding a rear rack with storage and fenders. All of these would make the bike a lot more comfortable and practical to ride around with nicer contact points and safety features.
However, there was one last thing that I didn’t need to do, but I really wanted to do: swap out the front suspension for air suspension. Cheap mountain bikes tend to have coil springs for front suspension which on top of being heavy relative to their air filled counterparts, they also act differently as the resistance is linear with relation to travel: making the suspension either too stiff for small bumps or too soft for big drops.
After all that planning it was time to actually start putting together the bicycle, a journey that I knew would take a long time, in part because summer break 2025 was just around the corner and I was going back home.
The build process
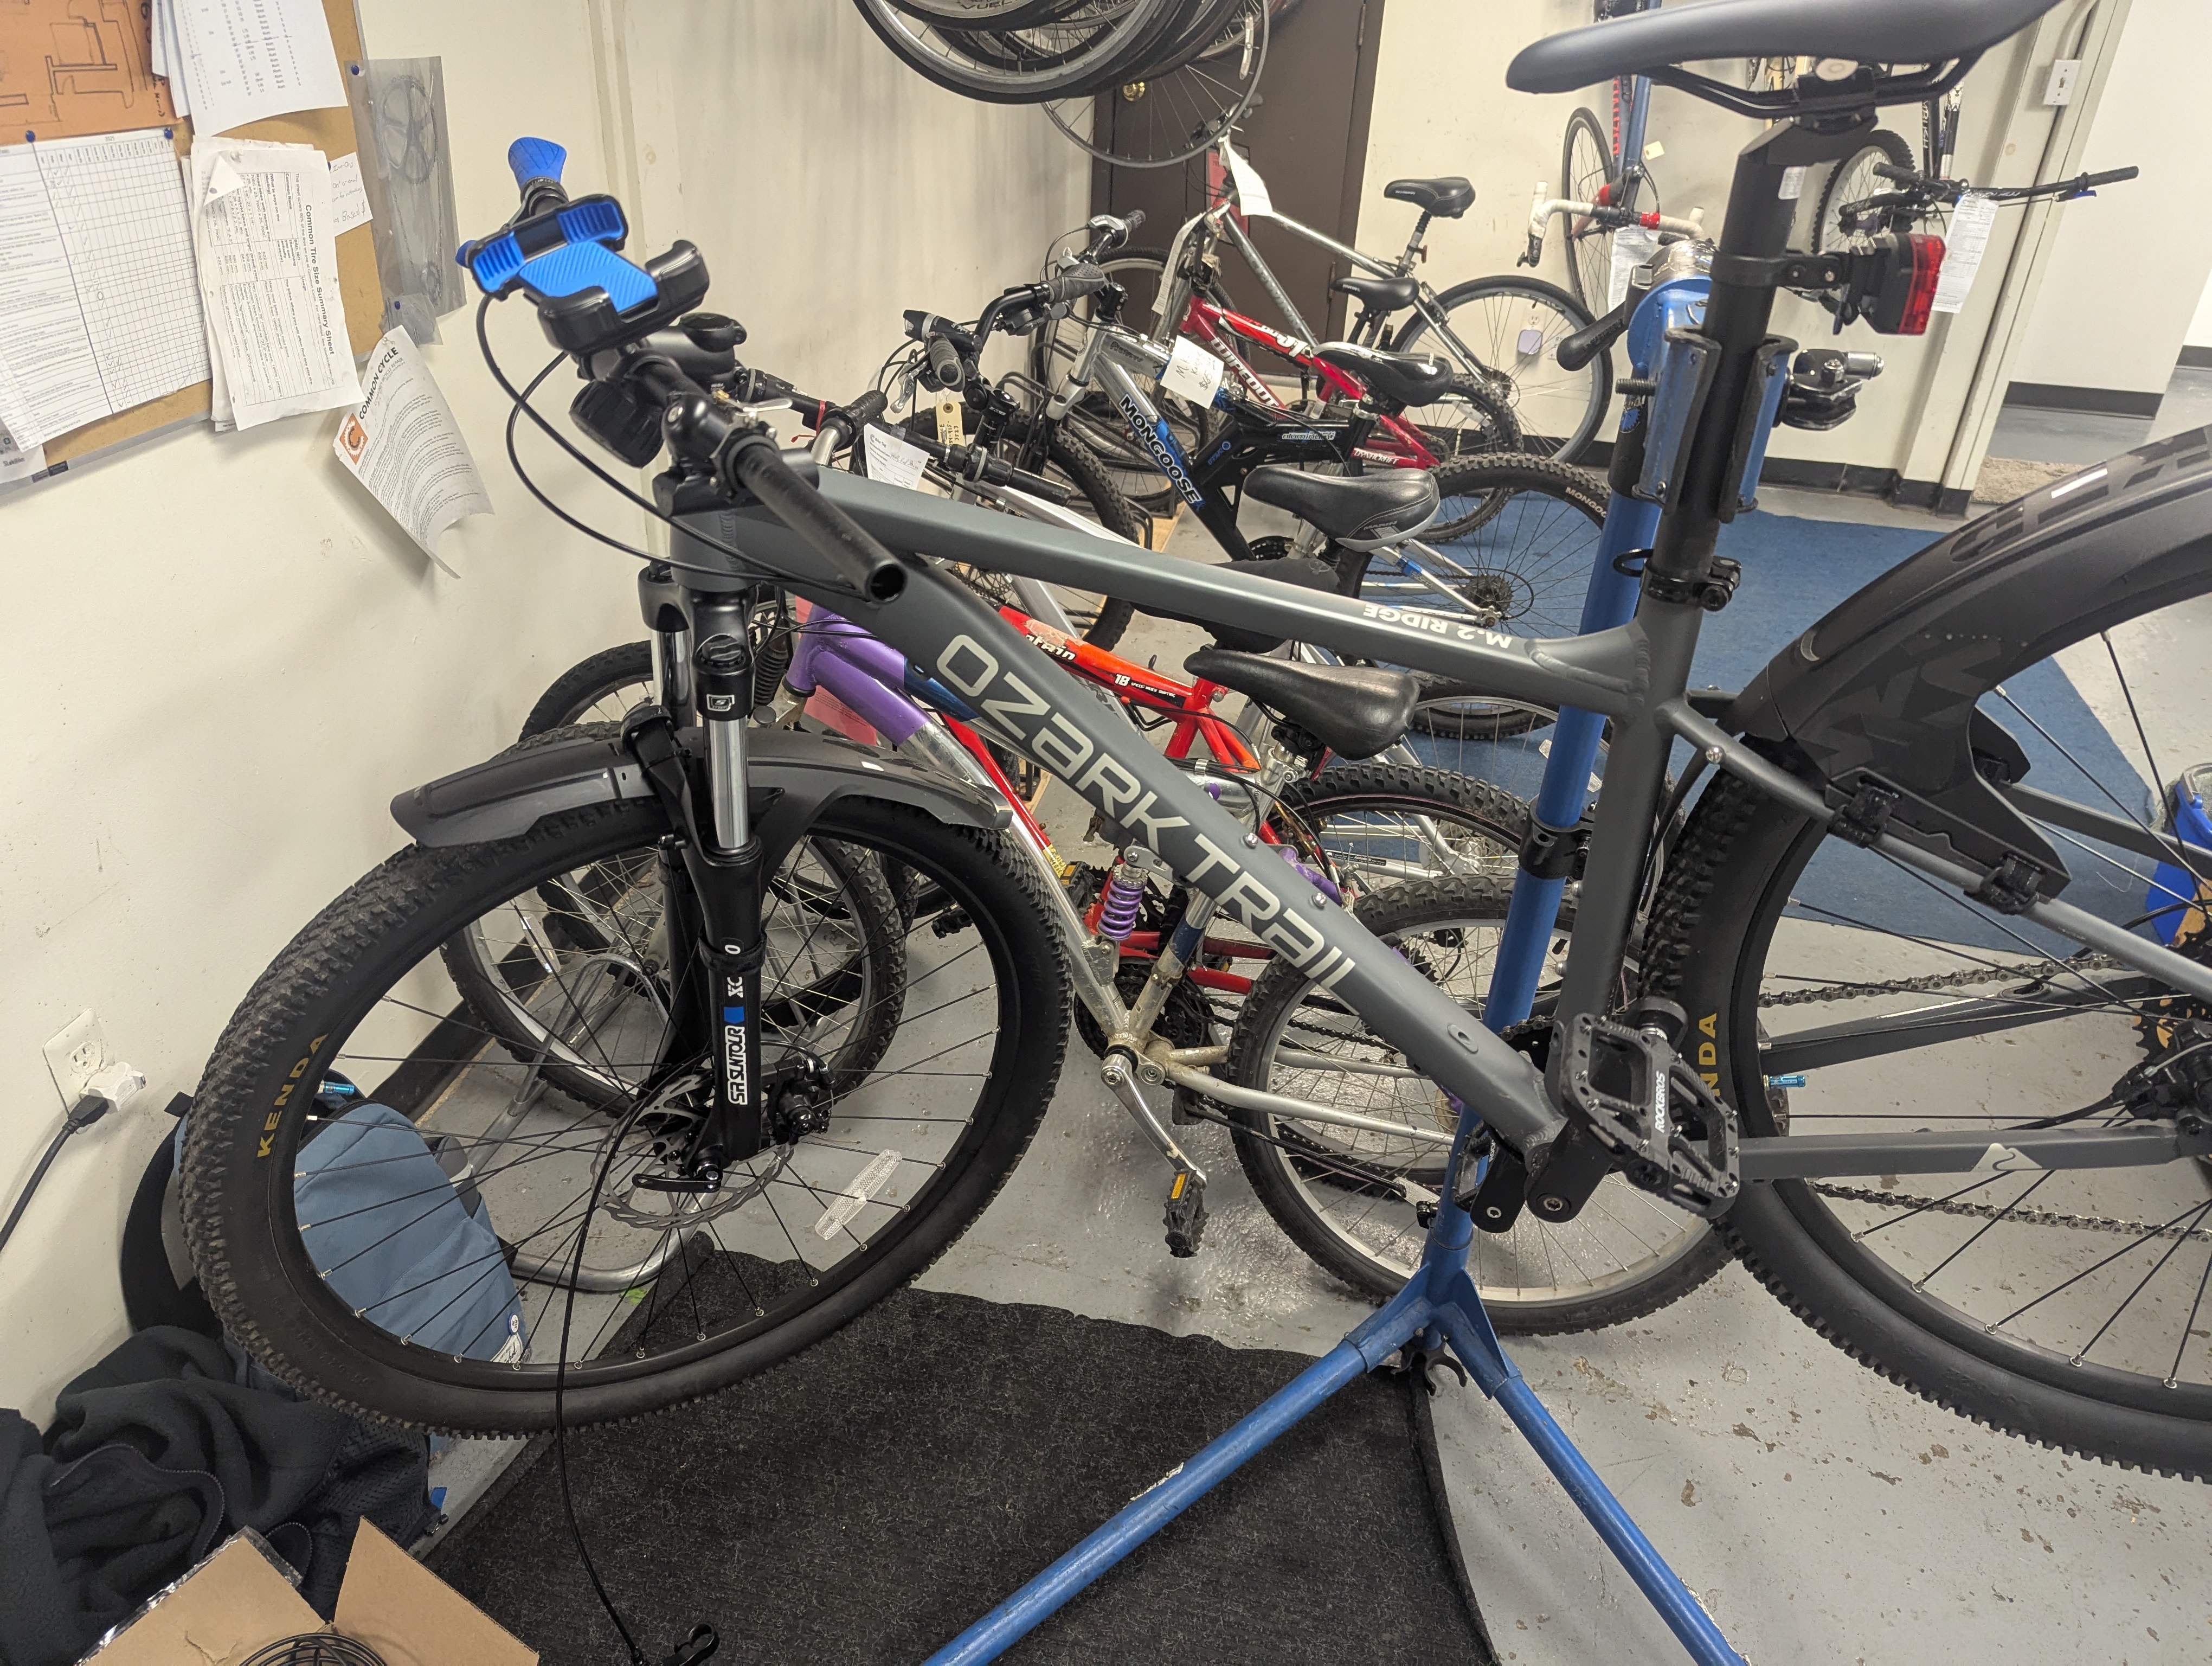
The first thing after buying the bicycle was a general tune-up as the builders at Walmart aren’t necessarily bike mechanics themselves. Shifting and brakes basically always need to be adjusted after purchasing. I cut my teeth (metaphorically) on watching Park Tool’s excellent youtube videos while jerry rigging a way to hold my bicycle while working on it in my tiny dorm. I thank William for being such a great roommate during that trying time.
Below is a mostly complete list of all of the work done to the bicycle in my time of owning it, other than small things which are itemized in my build sheet (linked in the FAQ).
- Attached a small storage strap and phone holder
- Swapped the pedals
- Swapped the grips
- Swapped the brake rotors
- Added a small light, mirror and bell
- Swapped the brake calipers and levers to hydraulic brakes
- Swapped the tubes in the tires for ones with replaceable valve cores
- Added sealant to the tubes
- Added large plastic fenders
- Swapped the rear cassette (gears), derailleur (chain shifting mechanism) and shifter
- Swapped the front fork (suspension) to an air fork
- Swapped the saddle
- Swapped the front and rear tires for a staggered set of more road focused tires
- Removed the crank from the bicycle
- Installed the electric motor
- Installed the large battery and wired the display, throttle and other sensors
- Installed a more capable headlight
- Installed secure wheel locks
- Installed a rear rack with detachable bags
- Added a splitter from the battery power to enable fast phone and headlight charging
What follows is a rough retelling of my experience getting all of these things done, skipping over the small stuff.
My first batch of upgrades for the bike were the kind everyone does to their bike: grips, pedals, lights, small bag and phone holder. I fondly remember each package arriving individually by mail and installing them bit by bit, easy and fun. None of these are super special, but I do want to give a special mention to the Ergon GA3 grips because they are very comfortable but still let the bicycle feel like a mountain bike: they’re probably the reason I never changed out my handlebars even though they aren’t the best.
The next upgrade was a more challenging one: swapping to hydraulic brakes, but before that I wanted to increase the size of my brake rotors to something a little larger. The purpose of this was to get the most leverage from the brakes as possible as well as better heat dissipation. This was a pretty simple job: take the wheel out, take the rotors out, install new rotors with locktite on the screws, not a huge deal. The most annoying part was aligning the brake caliper and rotor to be perfectly parallel with each other, a process that still makes me grit my teeth to this day.
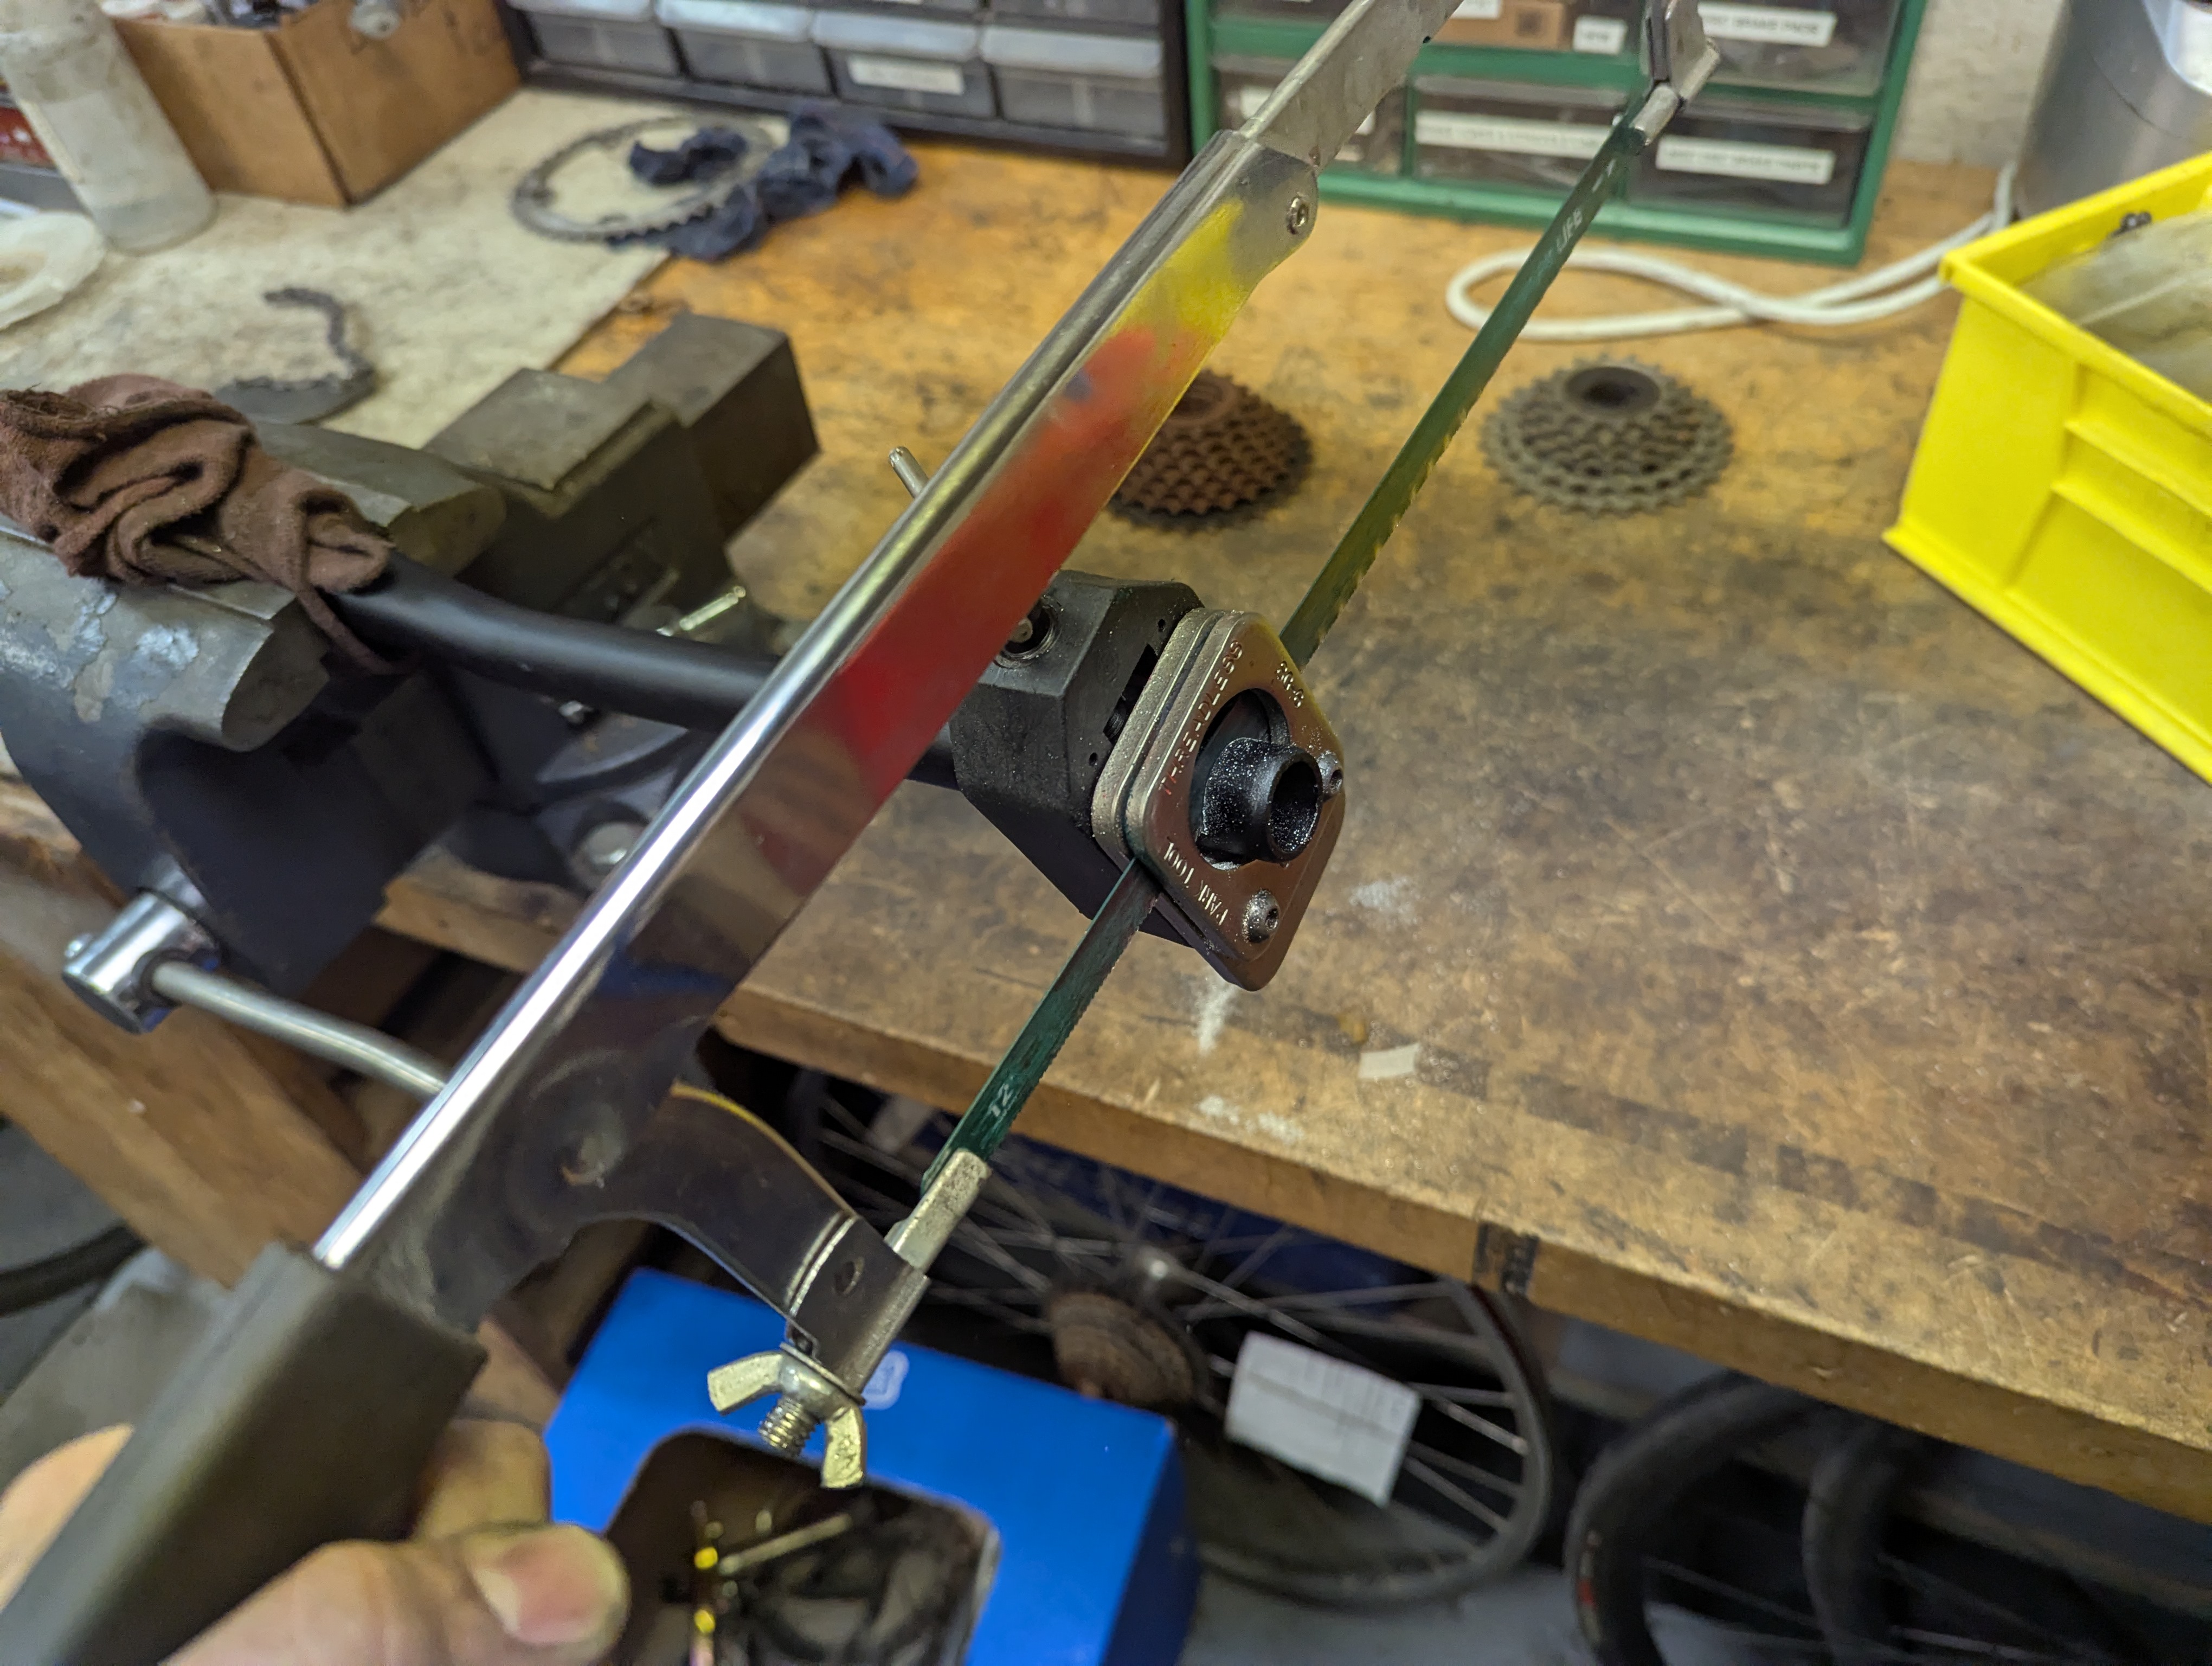
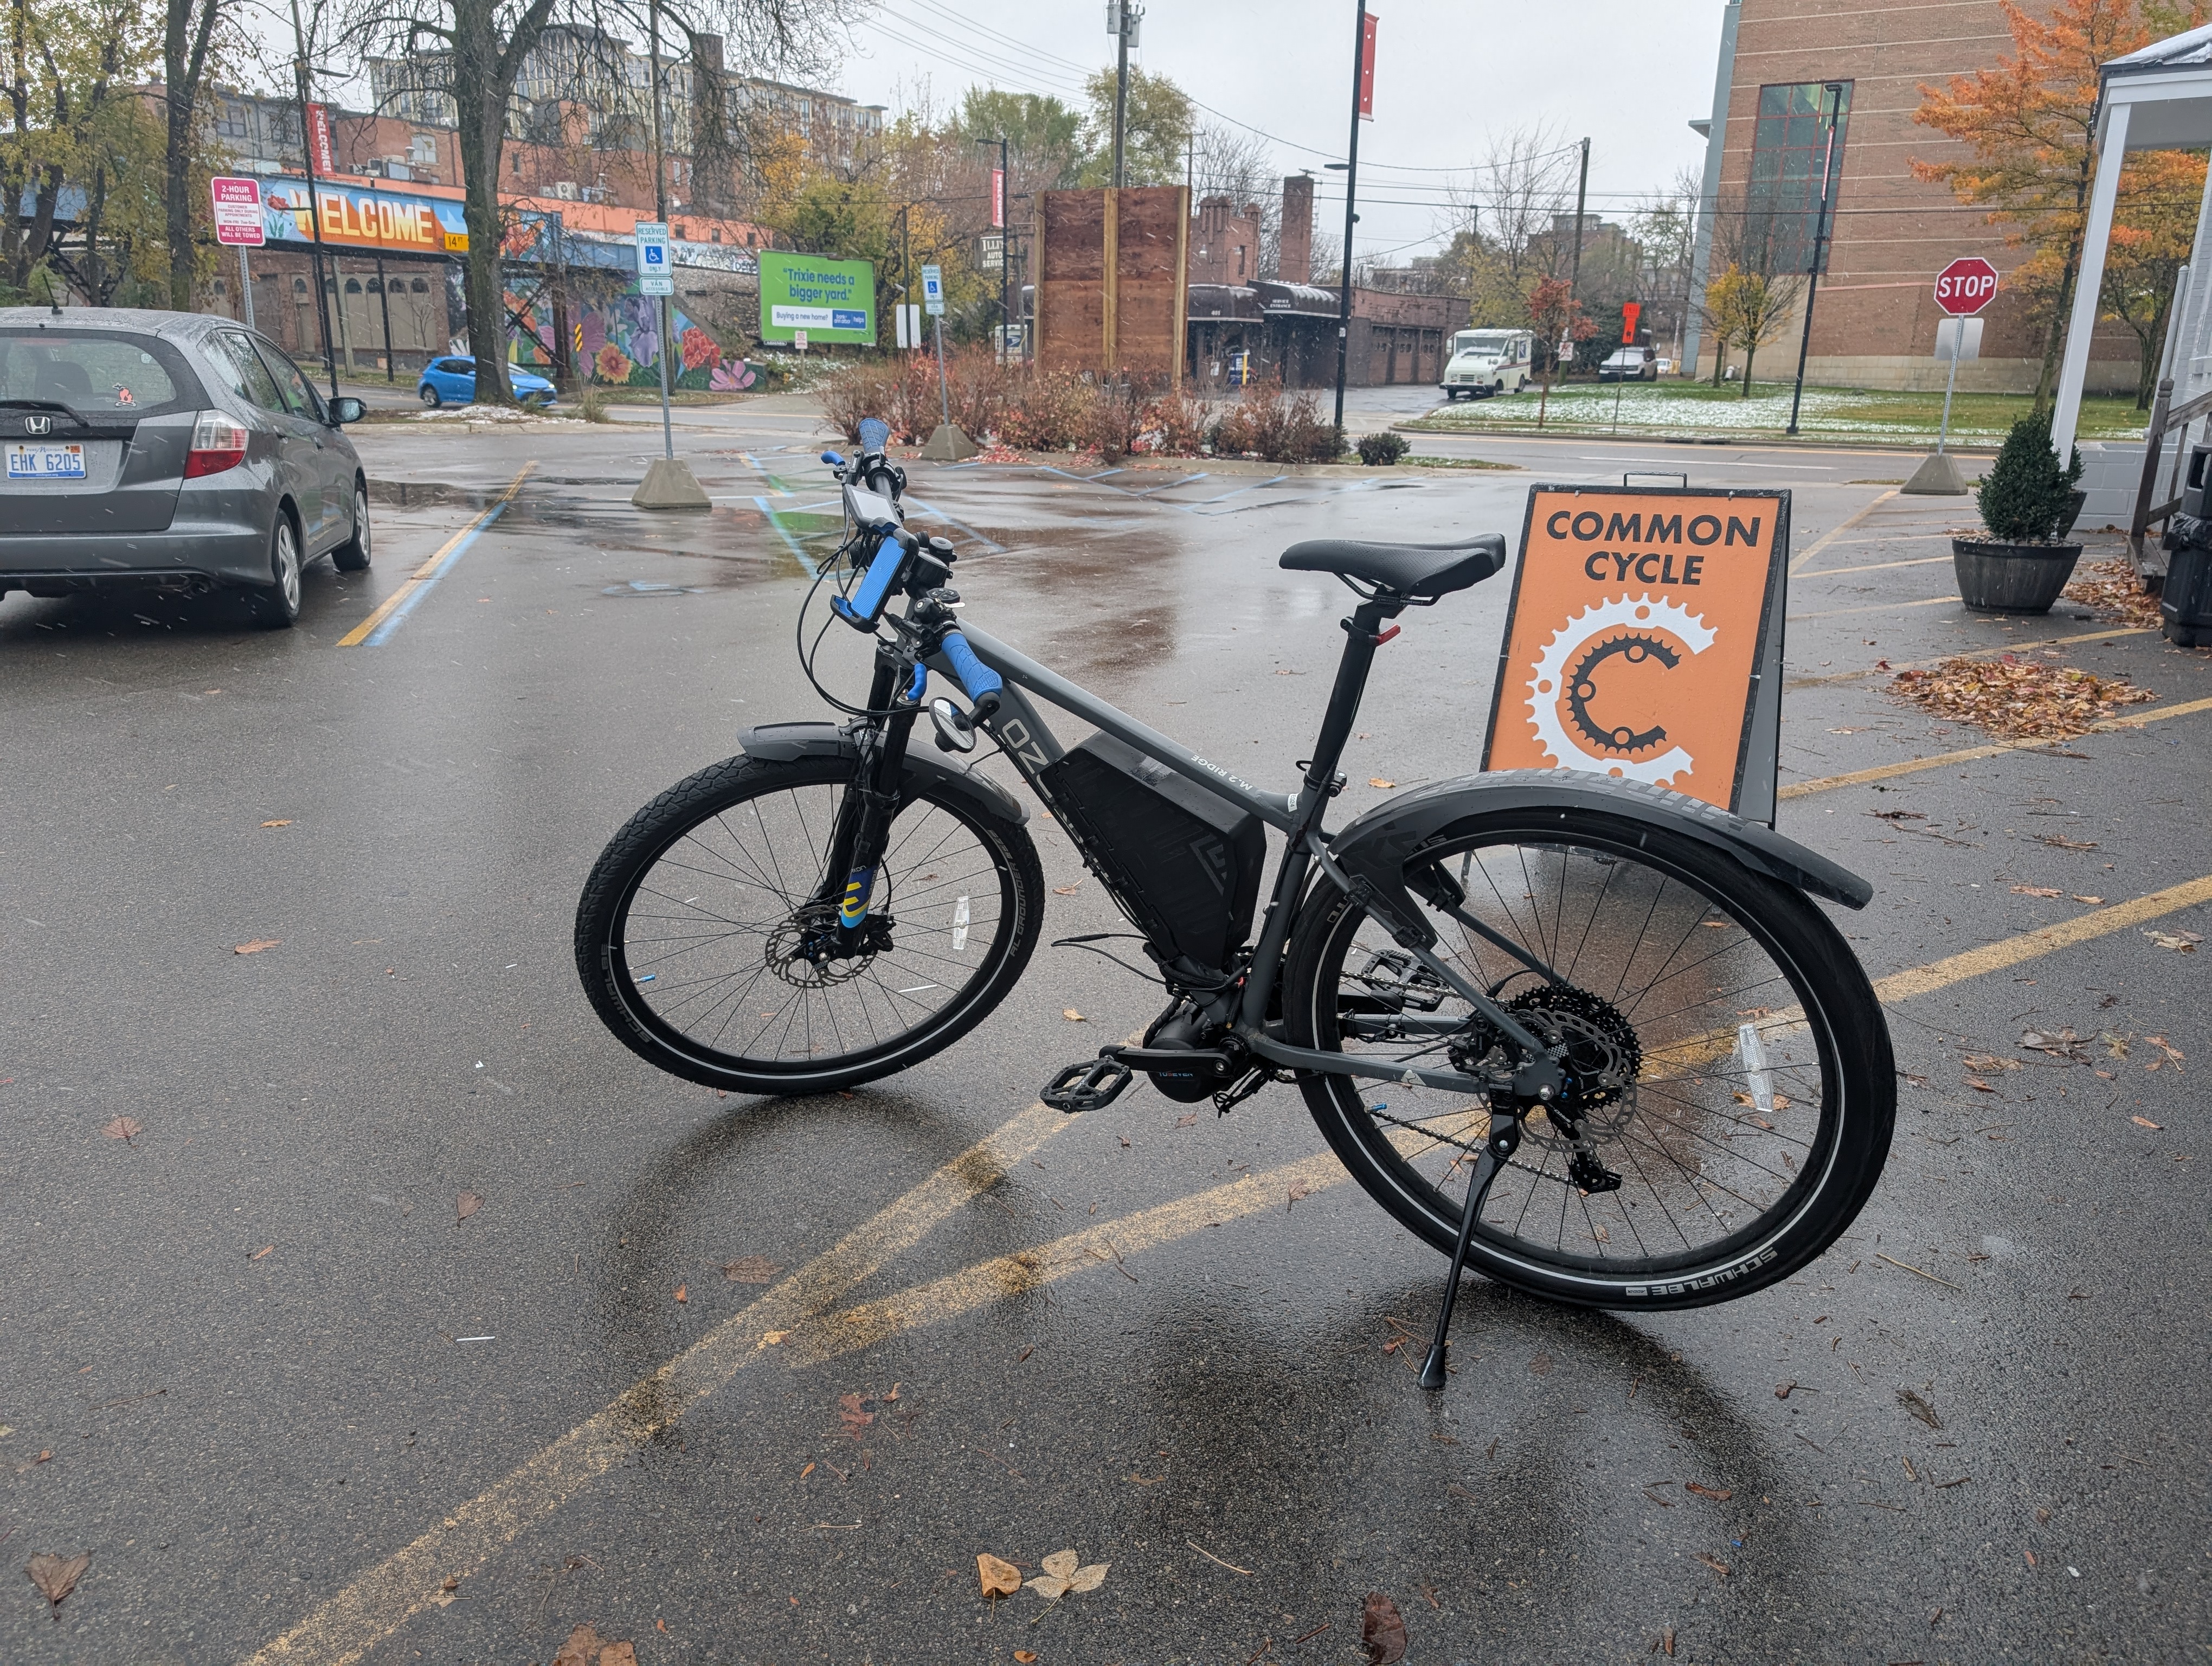
Now time for the brake swap. The ones I chose for these were the Shimano MT520, they’re incredibly good and I love them very much, although I feel that in hindsight I could have paid half for the Shimano MT200 and probably not have noticed much difference at all. An important note is that hydraulic brake installation can be messy, as you need special tools to cut and crimp fluid-filled cables without having them leak everywhere. Additionally the limited space in my dorm and not having any way to prop up my bicycle would make the installation nigh impossible or at least cost me a lot of back pain. However, I did have a solution to all my problems: Common Cycle.
Common Cycle is the local bicycle co-op in Ann Arbor, a wonderful shop where volunteers come in to help people fix their bicycles. In my case I tend to come to Common Cycle when I’m missing a tool or doing something that requires a little more expertise or assistance: in this case a brake swap. So I went over to Common Cycle, brought my bike, my brakes and got to work. It took about 3 hours due to not exactly being sure how everything went together, but the volunteers were incredibly kind, helpful and commended me on my initiative. The only blemish on my work was that the rear brake required cutting the cable as it’s oversized and I lost a bit of brake fluid during this which left it feeling a bit softer than it should have been. I would later have to bring this into a shop to have it bled of fluid and refilled as the equipment for brake bleeding is a little expensive if you just need it done once, plus the process is messy and error prone.
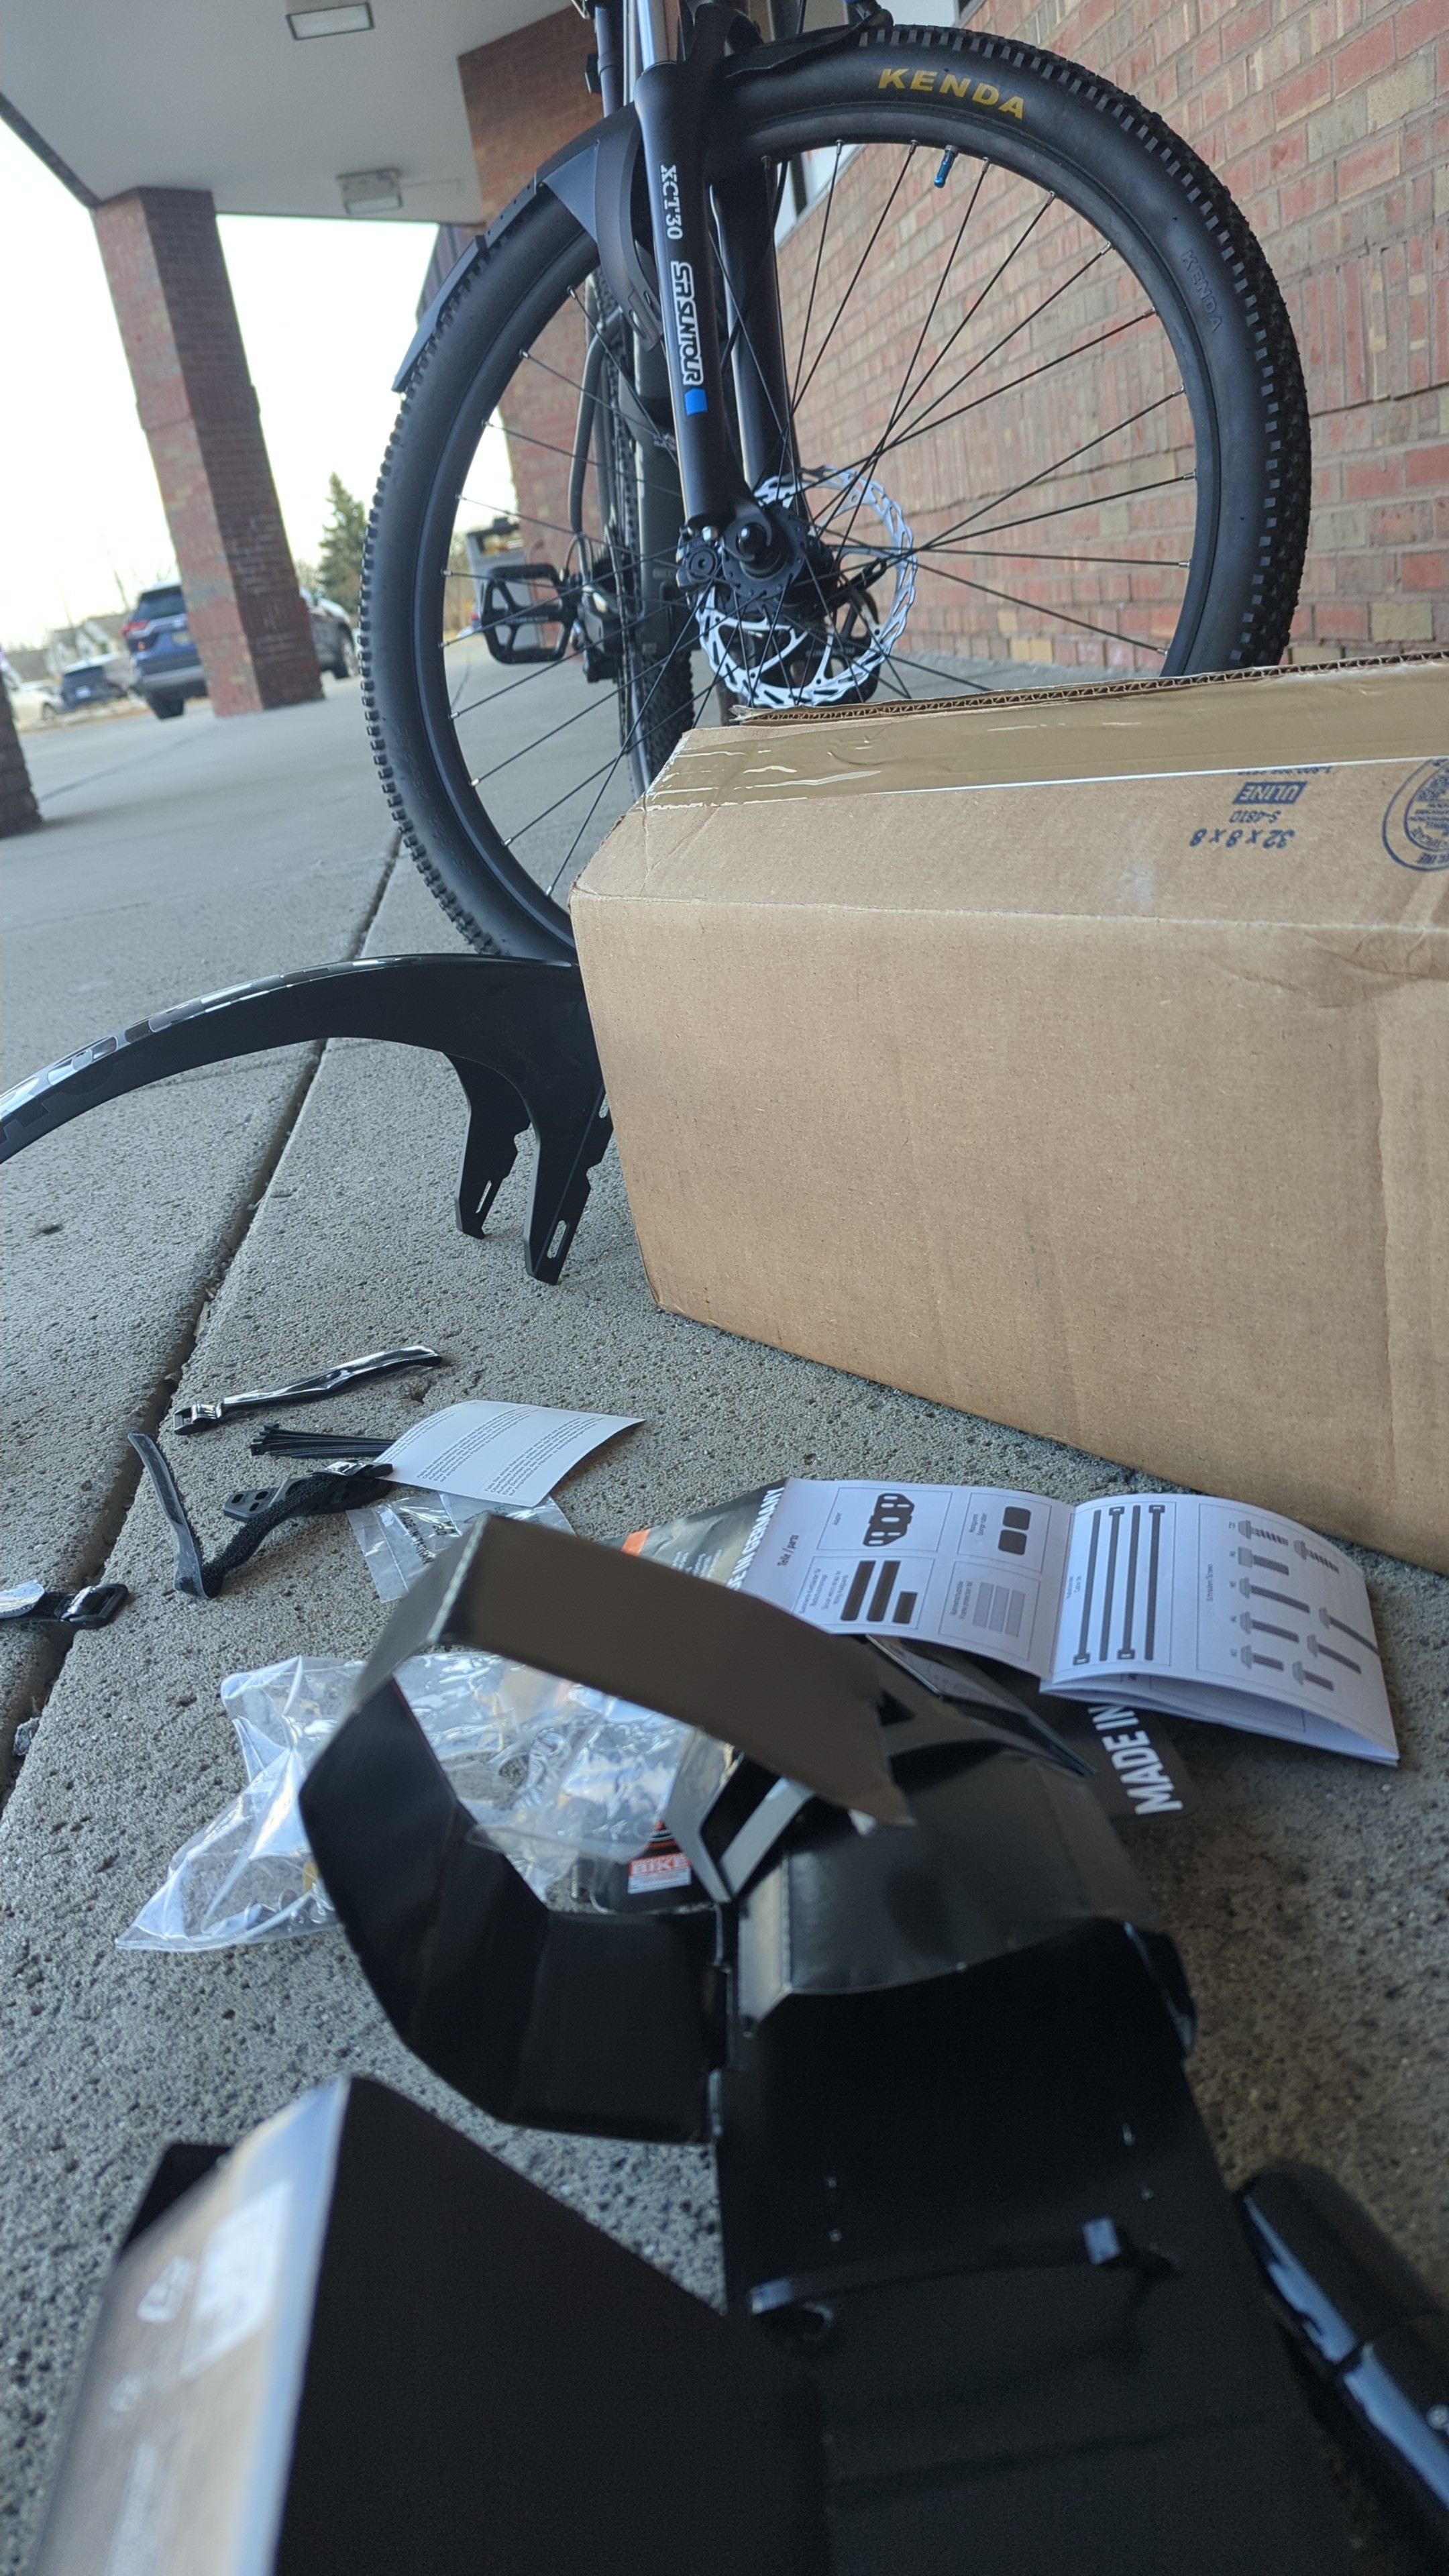
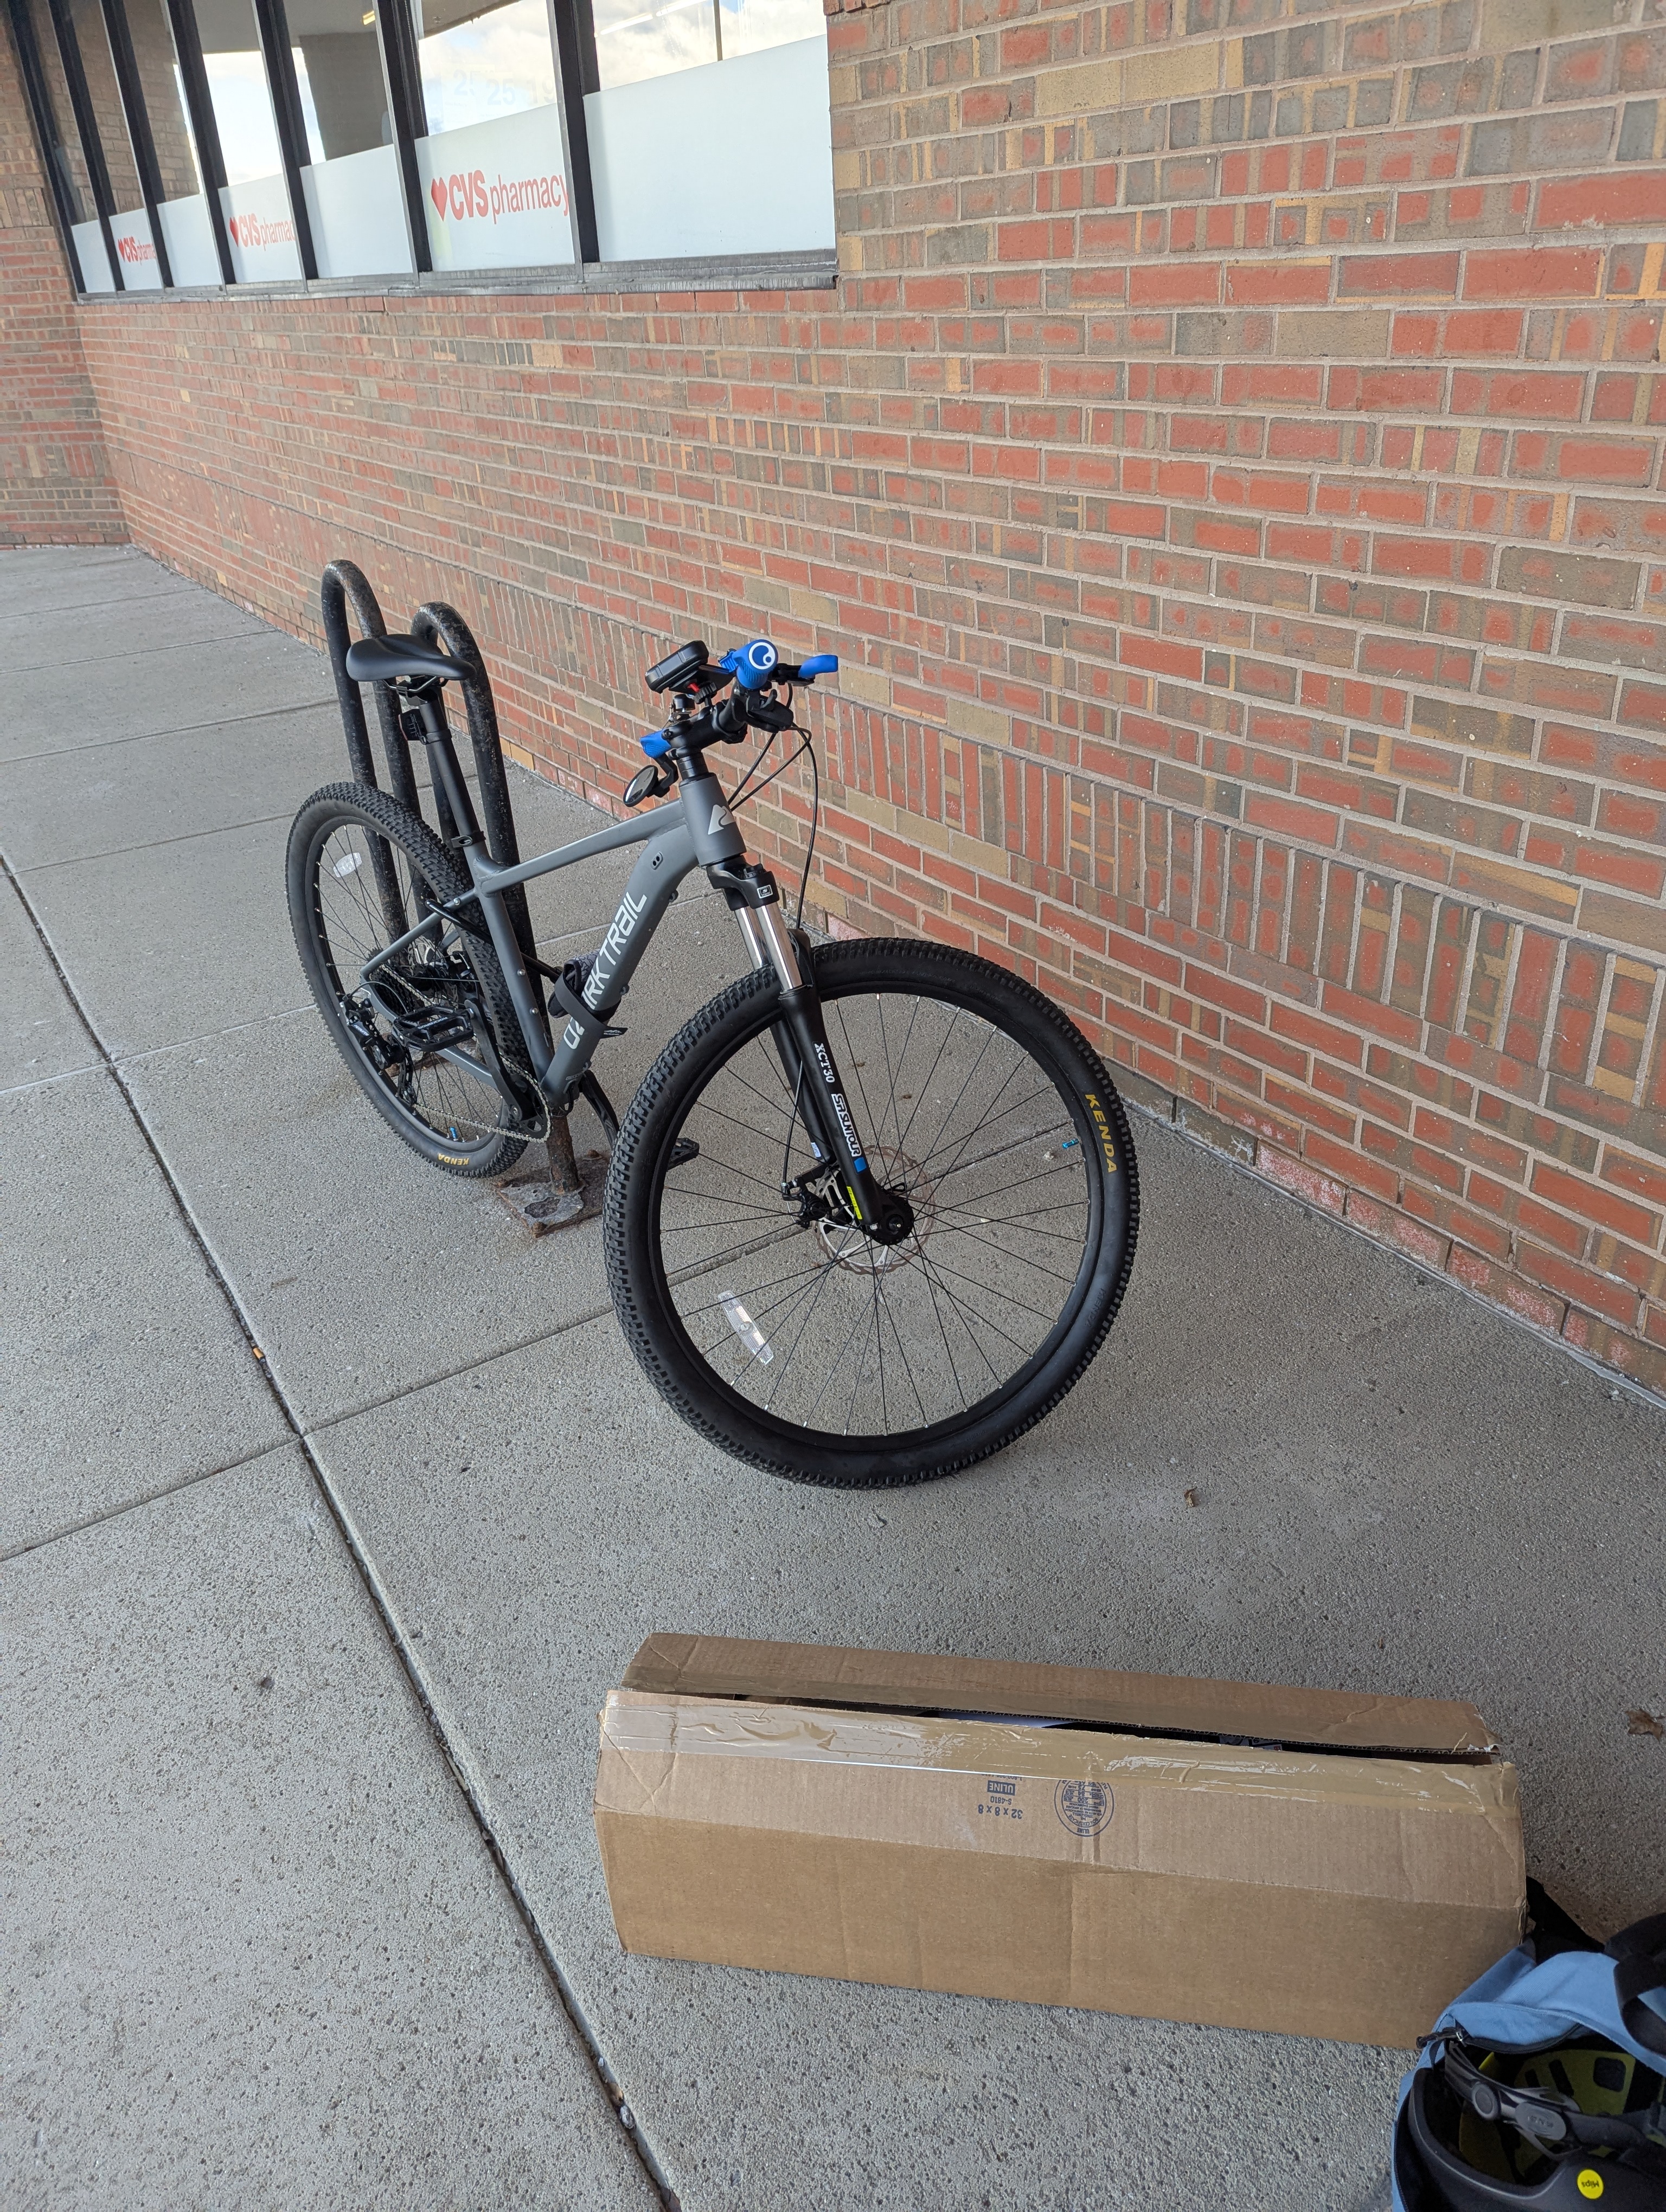
With my brake swap done I got some fenders to protect myself from getting splashed in the rain. The installation for these was very simple but for some reason the delivery truck didn’t arrive to the house and I instead had to bike a good 20 minutes to the nearest UPS pickup center. The worst part was the box didn’t fit in my bag, so I had to install the fenders in front of the store.
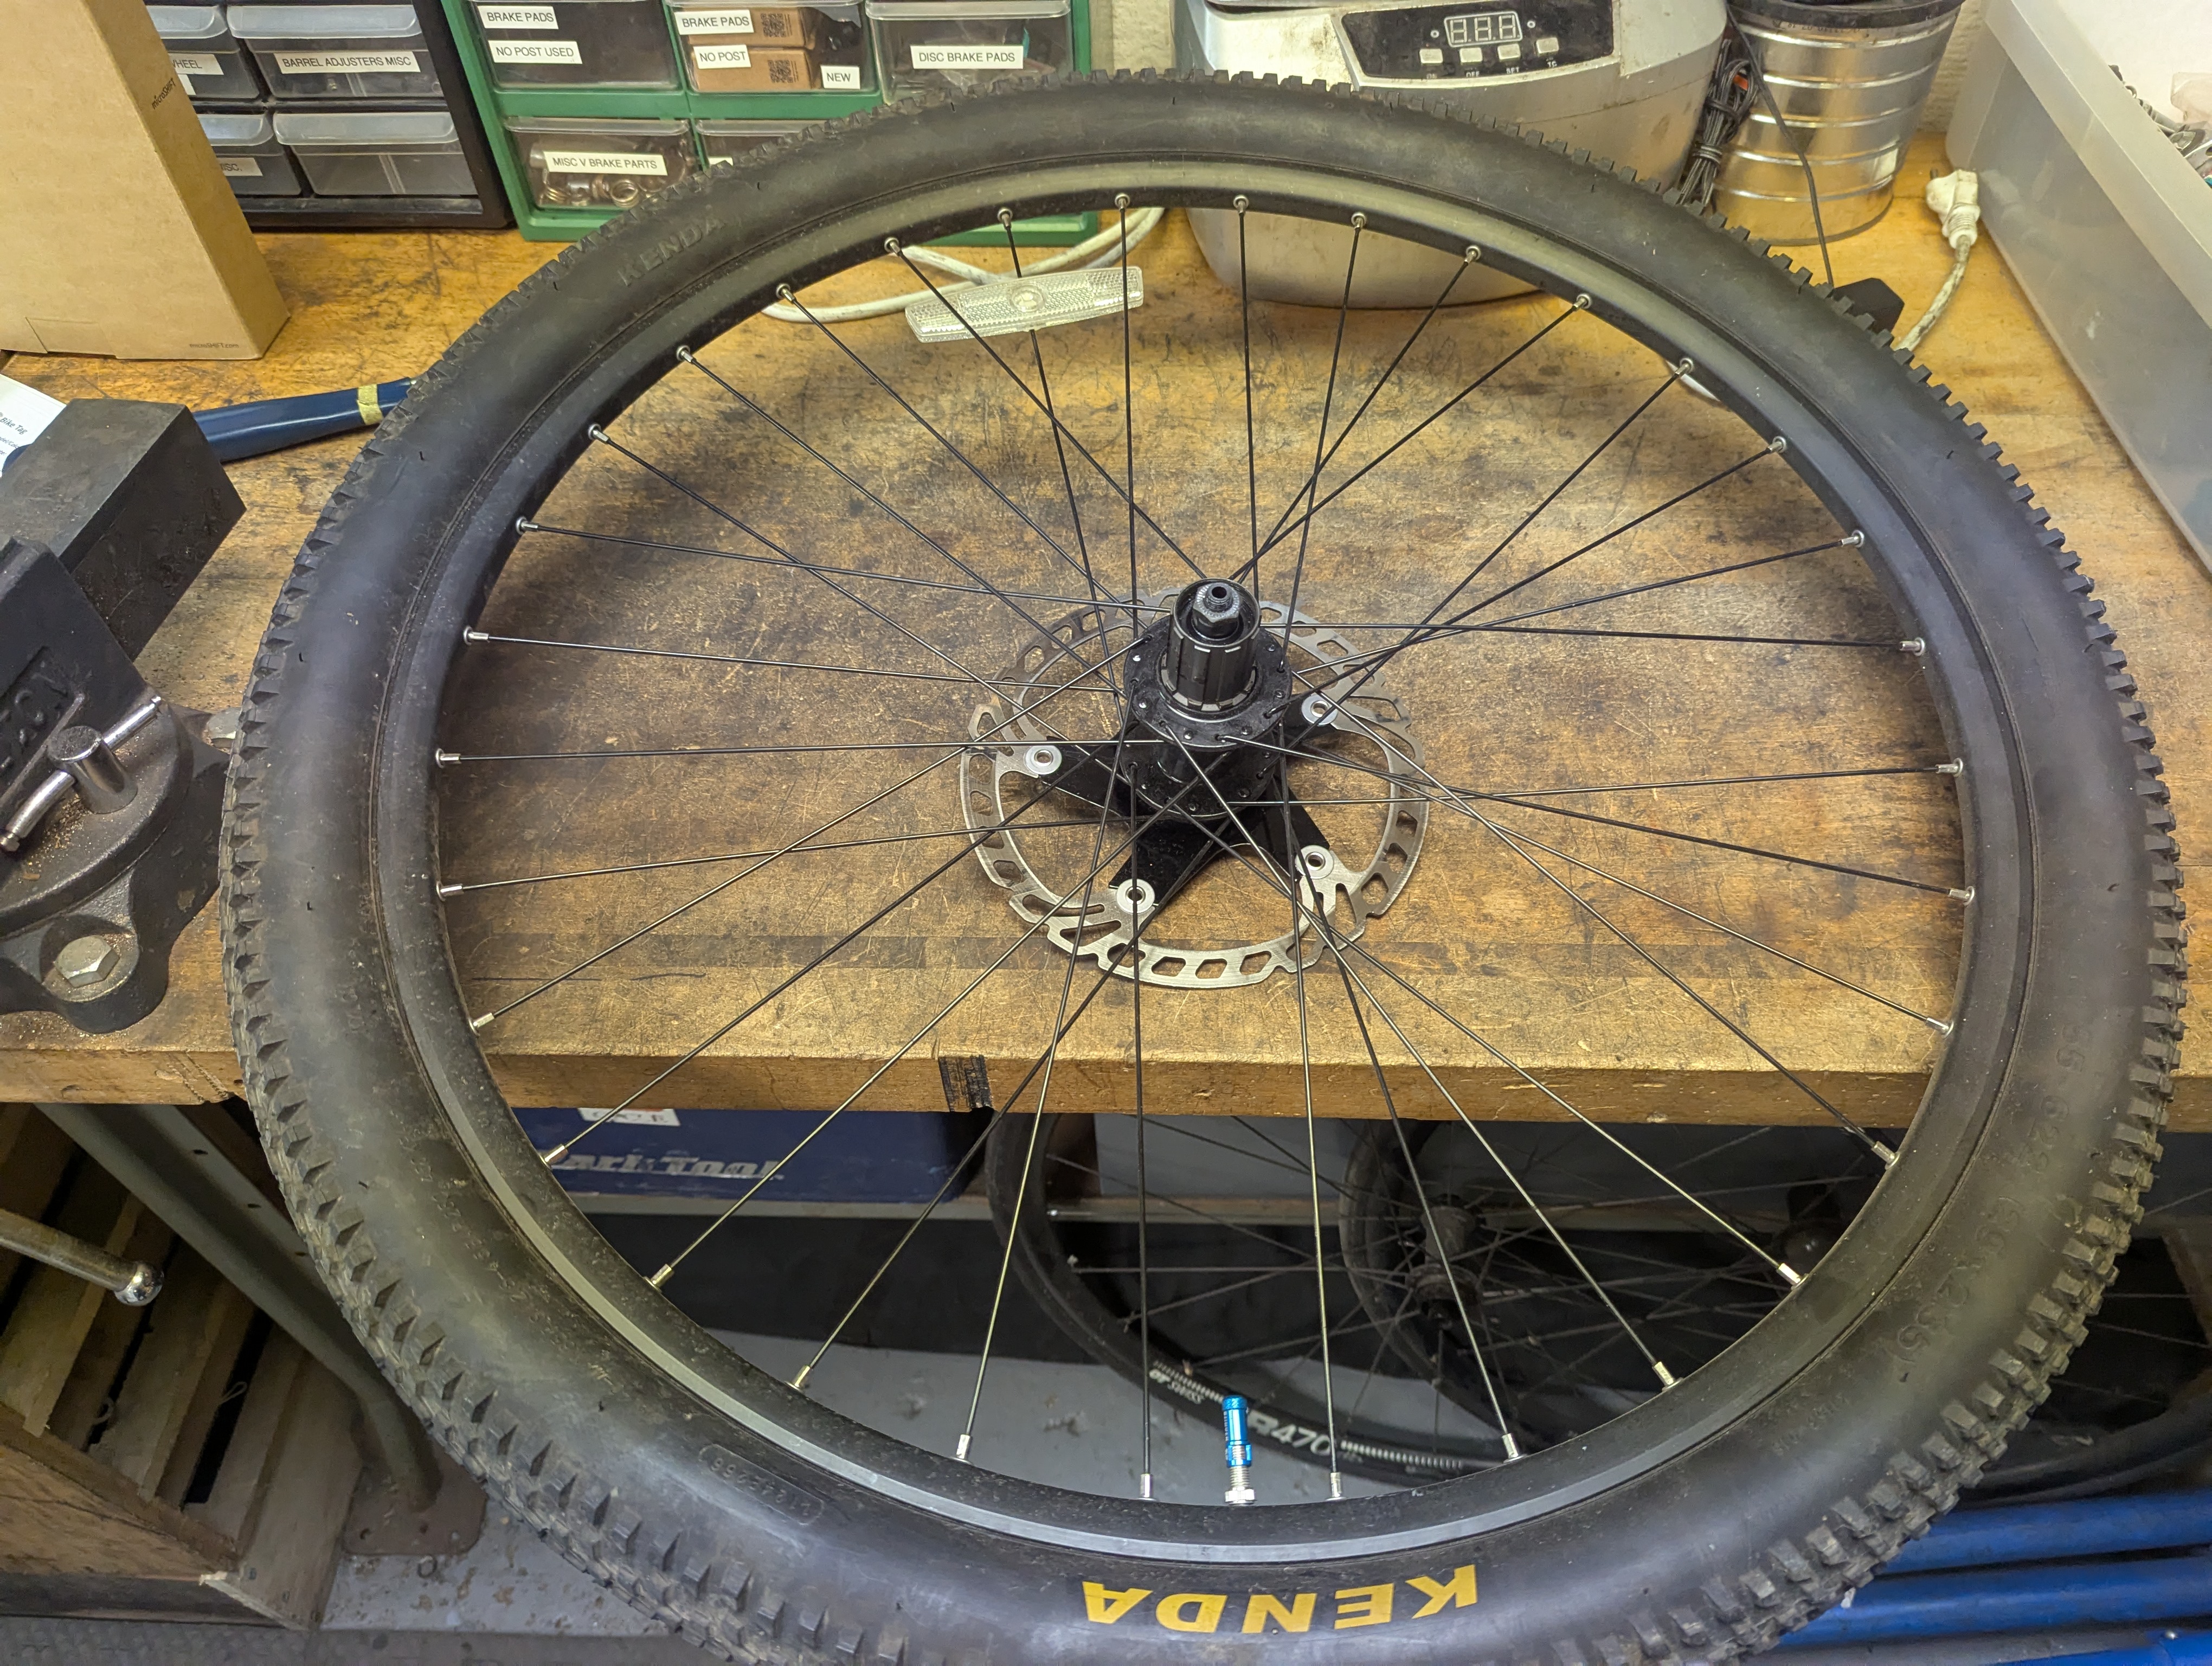
After that I swapped the tubes in my bicycle for others. Although these tubes were perfectly fine I planned to put hole sealant in them in case of a flat tire and these tubes didn’t allow me to do that. The new tubes I bought had removable cores in their presta valves that allowed me to pump the sealant, which was actually intended for off-road vehicles, into the tire. This was a conceptually simple process, but learning to take the tire off with tire levers and getting the incredibly viscous sealant into the tires was a bit of a pain.
My next upgrade was another major one: swapping the rear cassette (gears), derailleur (gear selector) and shifter. This swap wasn’t incredibly complicated as all the parts on the bicycle were already from the same brand: Microshift, so I was just upgrading from one lineup to another. This was another task where going to Common Cycle made my life much easier, having proper tools to be able to take off the special lockring on the cassette and a bike stand to prop up the wheels while tuning the shifting made it very nice to work. While I was at it I also cut down my handlebar’s width by a teeny bit as the original width was a little too wide for me and made it feel larger.
This was where my bike mechanic journey temporarily ended as summer break had come and I had to leave my temporary home of Ann Arbor to return to the sweaty summers of Puerto Rico for the next 3 months.
Once back, I hit the ground running as the completion of the custom battery I had made was looming above my head. The next step in my long list of upgrades was one of the most optional, but one that I don’t regret doing a single bit: swapping to an air fork. Given the older style of quick release wheels on this bicycle there weren’t many options for me in terms of aftermarket air forks, so I ended up buying a gray market Suntour fork off of Ebay because it was cheaper than buying it from Suntour even with their trade-in program. I also purchased a star nut as I needed to install it for the stem and handlebars to attach to the fork.
However before I got the chance to do much, I had a small crash as the semester started. Nothing terrible, it was just me falling off the bike for no good reason. I had decided I wanted to try going up on a high surface and I got my wheel stuck and fell sideways, got a small scrape, but nothing bad. Unfortunately one of the screws on the saddle flew off.I was able to get the saddle back on its frame but it probably wasn’t going to last much longer after that so I quickly found a replacement and swapped it in and all was well.
I walked away pretty easily all told

When my planned upgrades arrived in the mail I loaded up my backpack with my oversized Suntour Epixon sticking out and headed for Common Cycle. Once there, the always friendly volunteers helped me undo all my handlebar stuff, remove the fork, grab my new one, cut it down to the correct length, install it, and then set the air pressure to the correct amount for my rider weight. This was all a lengthy process but it went quite smoothly, thanks to the advice of one of the volunteers, a former bike shop employee. The new fork performed great, had about 2cm more of suspension travel, weighed about 2 pounds less and gave the whole bike a different feel entirely. This feeling likely isn’t just because of the weight changes but likely due to the fact that the 2cm more of travel also raises the front of the bike by that much, making it just slightly longer and “slacker” geometrically, better for stability.
During this final stage of pre-electrification I also took the time to swap out the stock mountain bike tires on the bicycle for two more road focused tires from Schawlbe. On the front I used the Al Grounder, a more 50/50 dirt/road tire based on scrambler motorcycles and on the rear I used a Super Moto tire on the rear for maximum grip on the driven wheel. These tires combined with higher tire pressures gave the bike a super planted feeling that I definitely missed once I swapped back to dirt tires for the winter.
Finally the massive battery arrived from California and it was time for the electrification of my project. I hurriedly started work on the bike, knowing I’d be back to taking the blue buses until it was all operational again.
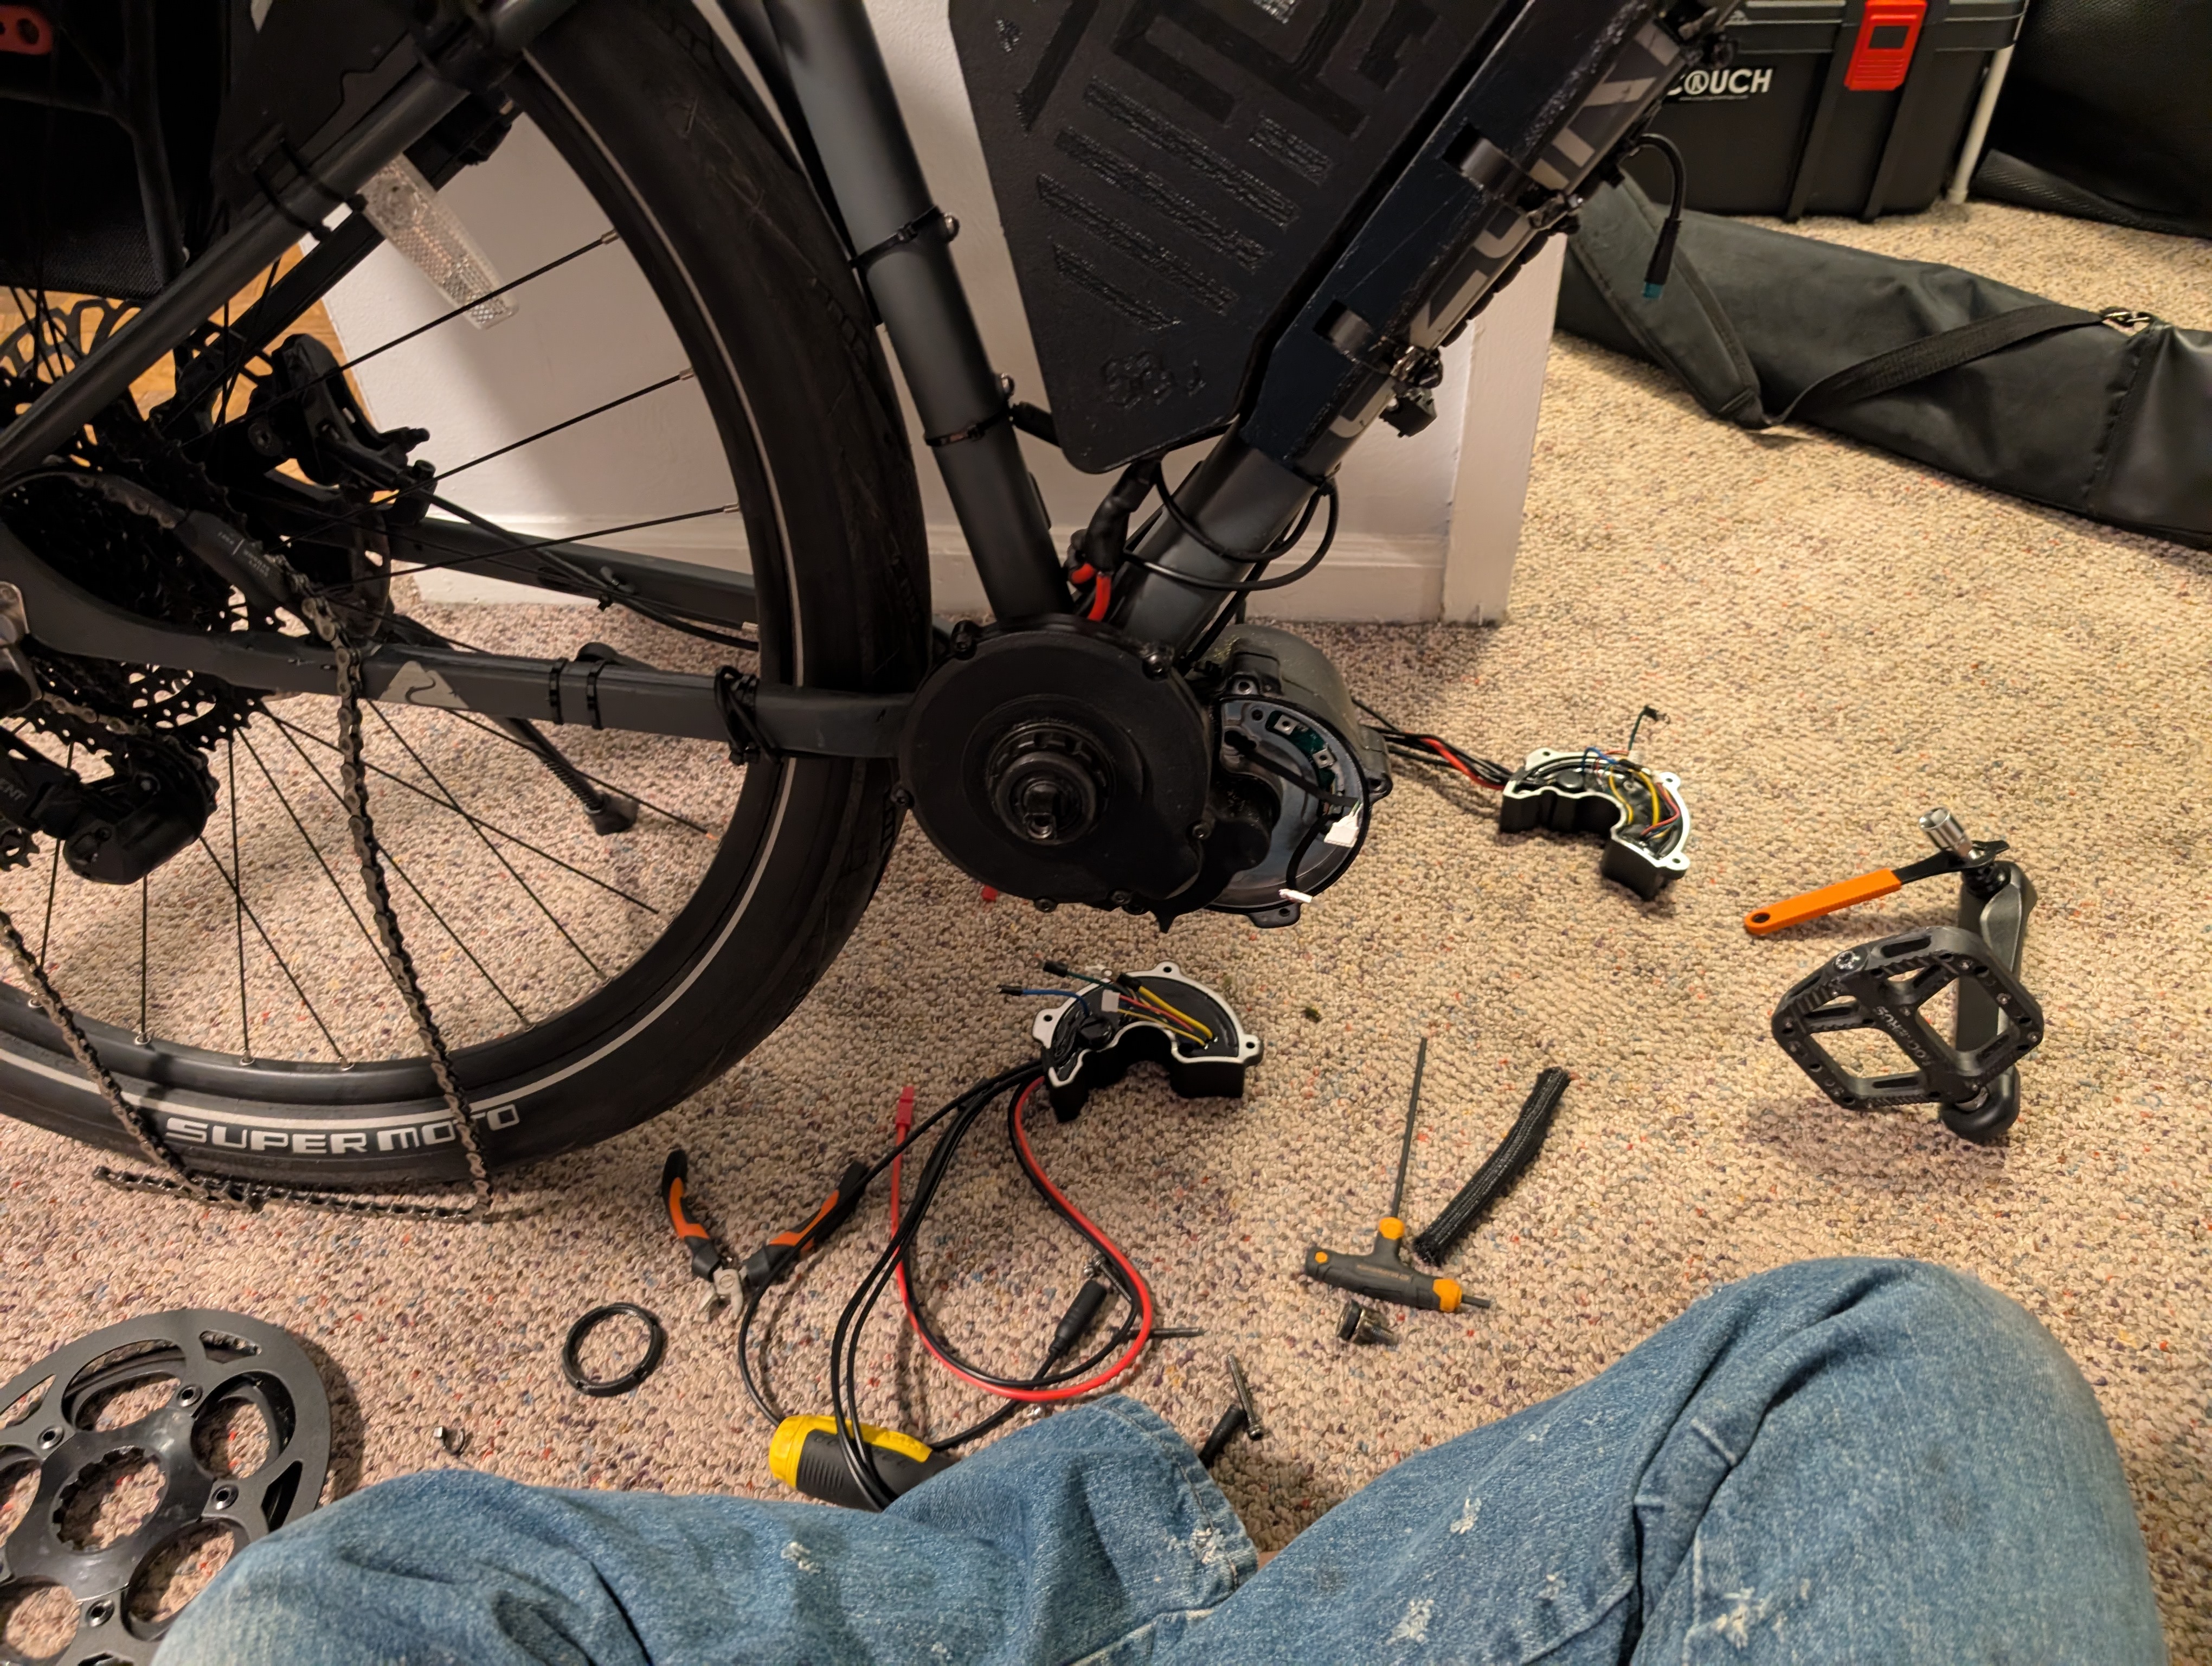
Once I found time between classes to sacrifice to my bike, work began and I lost quite a lot of sleep that week. I quickly took off the crank arms in preparation to remove the bottom bracket and install the motor in its place. I got the crank arm puller to separate the two parts, which are held together in an unusual manner which required this special tool. Then suddenly it wouldn’t budge, the crank arms were stuck. I read all the information I could to no avail, I stepped on the small wrench with the weight of my entire body for what felt like an hour and still the crank arms were wedged in place.
It was time for another trip to Common Cycle, this one was much more unexpected. I had always completed all my work at Common Cycle within their 3 to 4 hour open shop time, but if I took the crank arms off of the bike there was no way I was going to be able to ride it back home. Thus I had to instead walk back with the bike, which would be left closer to a kid’s balance bike than an actual bicycle in terms of functionality. Taking that sacrifice into account I rode to Common Cycle and in a short time I was able to take out the crank arms as well as the bottom bracket using the lovely tools made by the Park Tool Company with ease. I’ll never know if it was the tool or having a larger wrench and hammer that made the job easier, but I’m just happy I was able to get it done at all.
After a 40 minute walk back home I was able to start placing the motor only to discover a new problem: it fits but it needs a metal washer to adjust its alignment. This delayed the whole project by two days as I waited for rush shipping from my online order. In the meantime I decided to mount the battery and run most of the other wiring for things like the display, brake sensors, speed sensors and shift sensors. It was boring, but it was a good use of time. After the washers arrived I torqued down the motor, installed the crank arms, chainring (front sprocket) and chain and took it out for a test ride. I was so giddy and excited taking this thing out at 4AM (I had been up working on the bike constantly the whole week) but it honestly rode terribly. The shifting was absolutely atrocious as the derailleur was not properly set up for the gigantic front sprocket, so it was effectively stuck in one gear and on top of all of that the crank arms weren’t even installed 180 degrees apart from each other, so pedaling was more of a galloping motion.
Either way with this small test run in hand and a long list of issues to fix, I got to work. I was able to remove the crank arms with my own tool this time and reinstall them properly. I checked in on the shifting but ran out of cable slack so I left the derailleur untensioned. Then the next day I woke up to find that the derailleur, which was free to move inwards, had now slammed itself into the spokes of my wheels and very violently dismembered itself. Fixing this involved ordering another derailleur and shifter cable and waiting a few more days to reinstall it. Frustrated, now having gone almost a week without a bike, I had become a bit impatient. I slept very little those days so it’s hard for me to recollect all the details of what happened, but I wasn’t able to get the shifting working correctly. I thought maybe my derailleur was too short for the large front sprocket the new motor had and bought a bigger one: no dice. I eventually concluded that the previous derailleur mangling incidents had left my derailleur hanger bent, so no amount of swaps would fix it. I ordered one online, but that would take another two weeks to arrive: not good. Thankfully I was able to go to Common Cycle and use their derailleur alignment tool to bend mine back into working shape and tune the shifting there. Somewhat unexpectedly my awesome e-bike had become fully operational, all in time for lunch with a friend that very same day.
Below is a short timelapse of all my work after getting the bottom bracket out
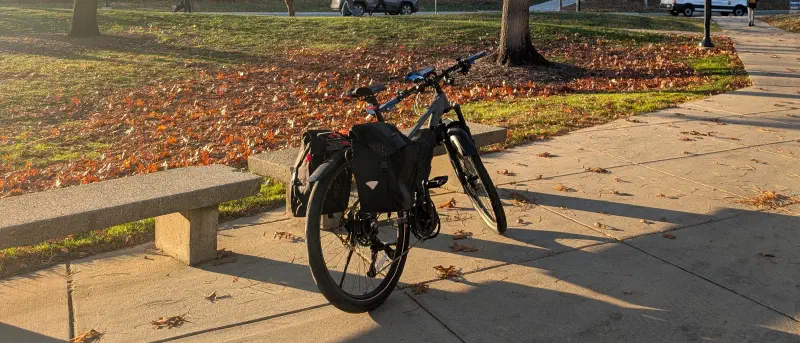
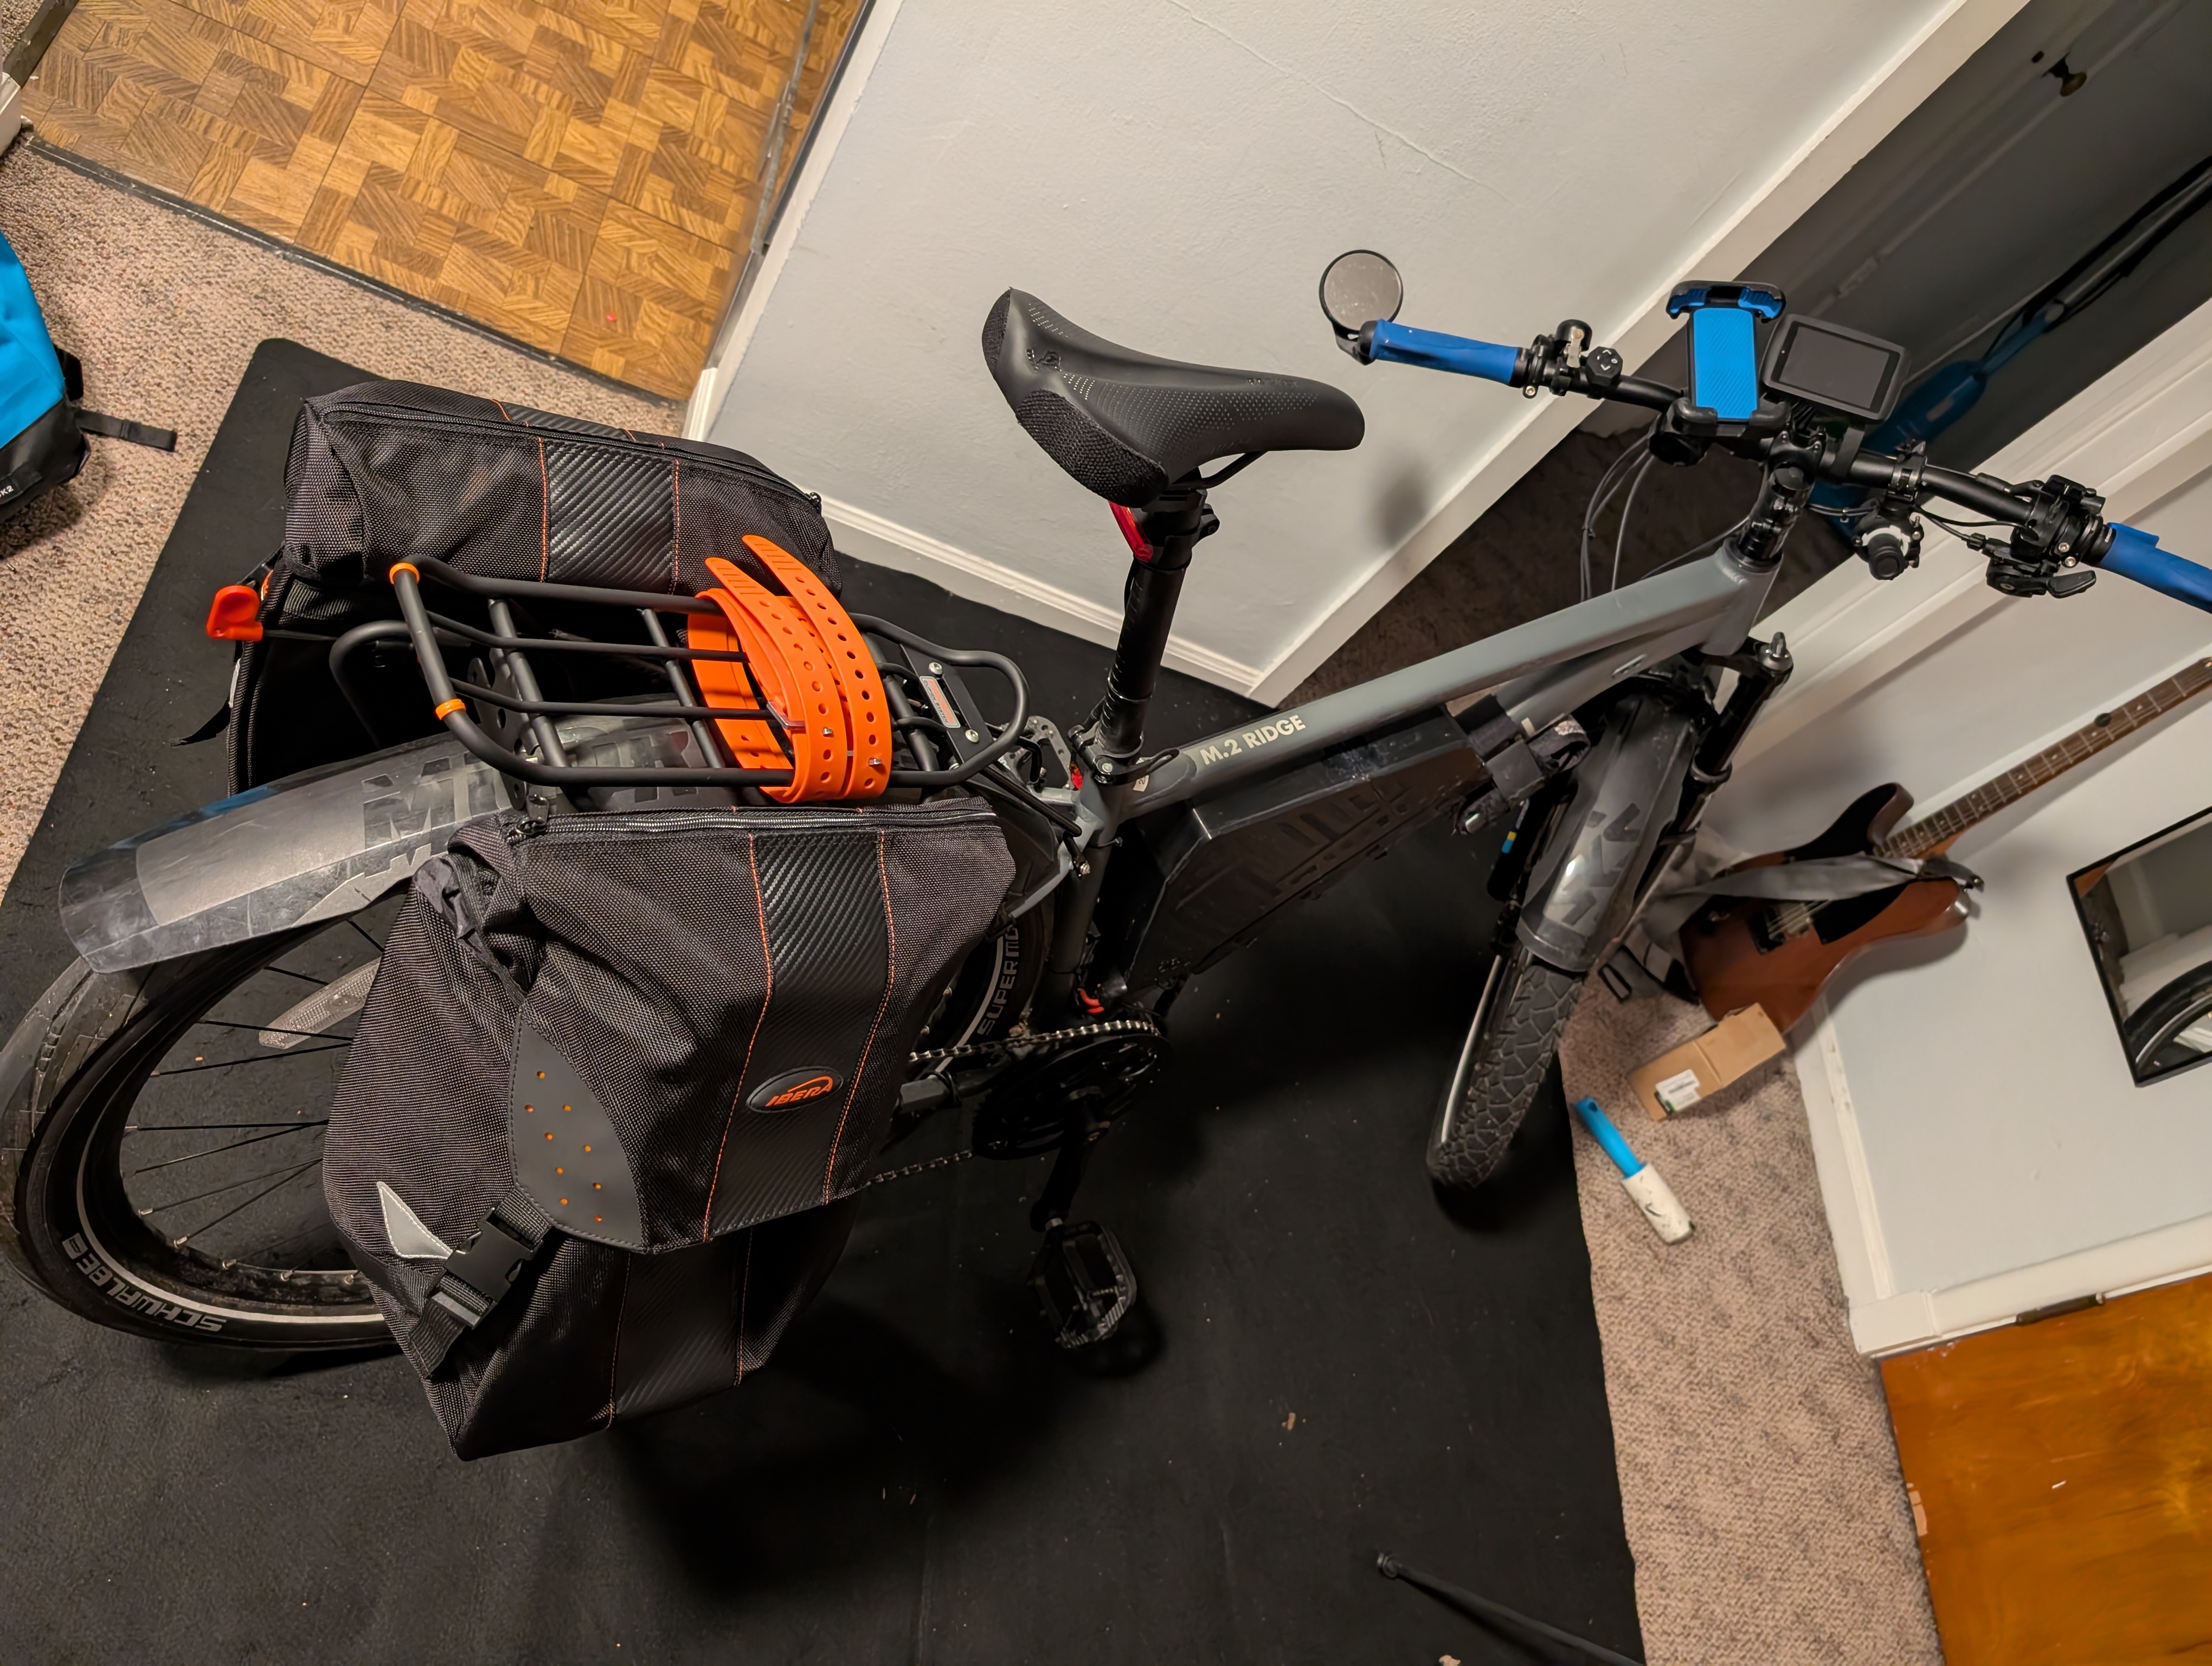
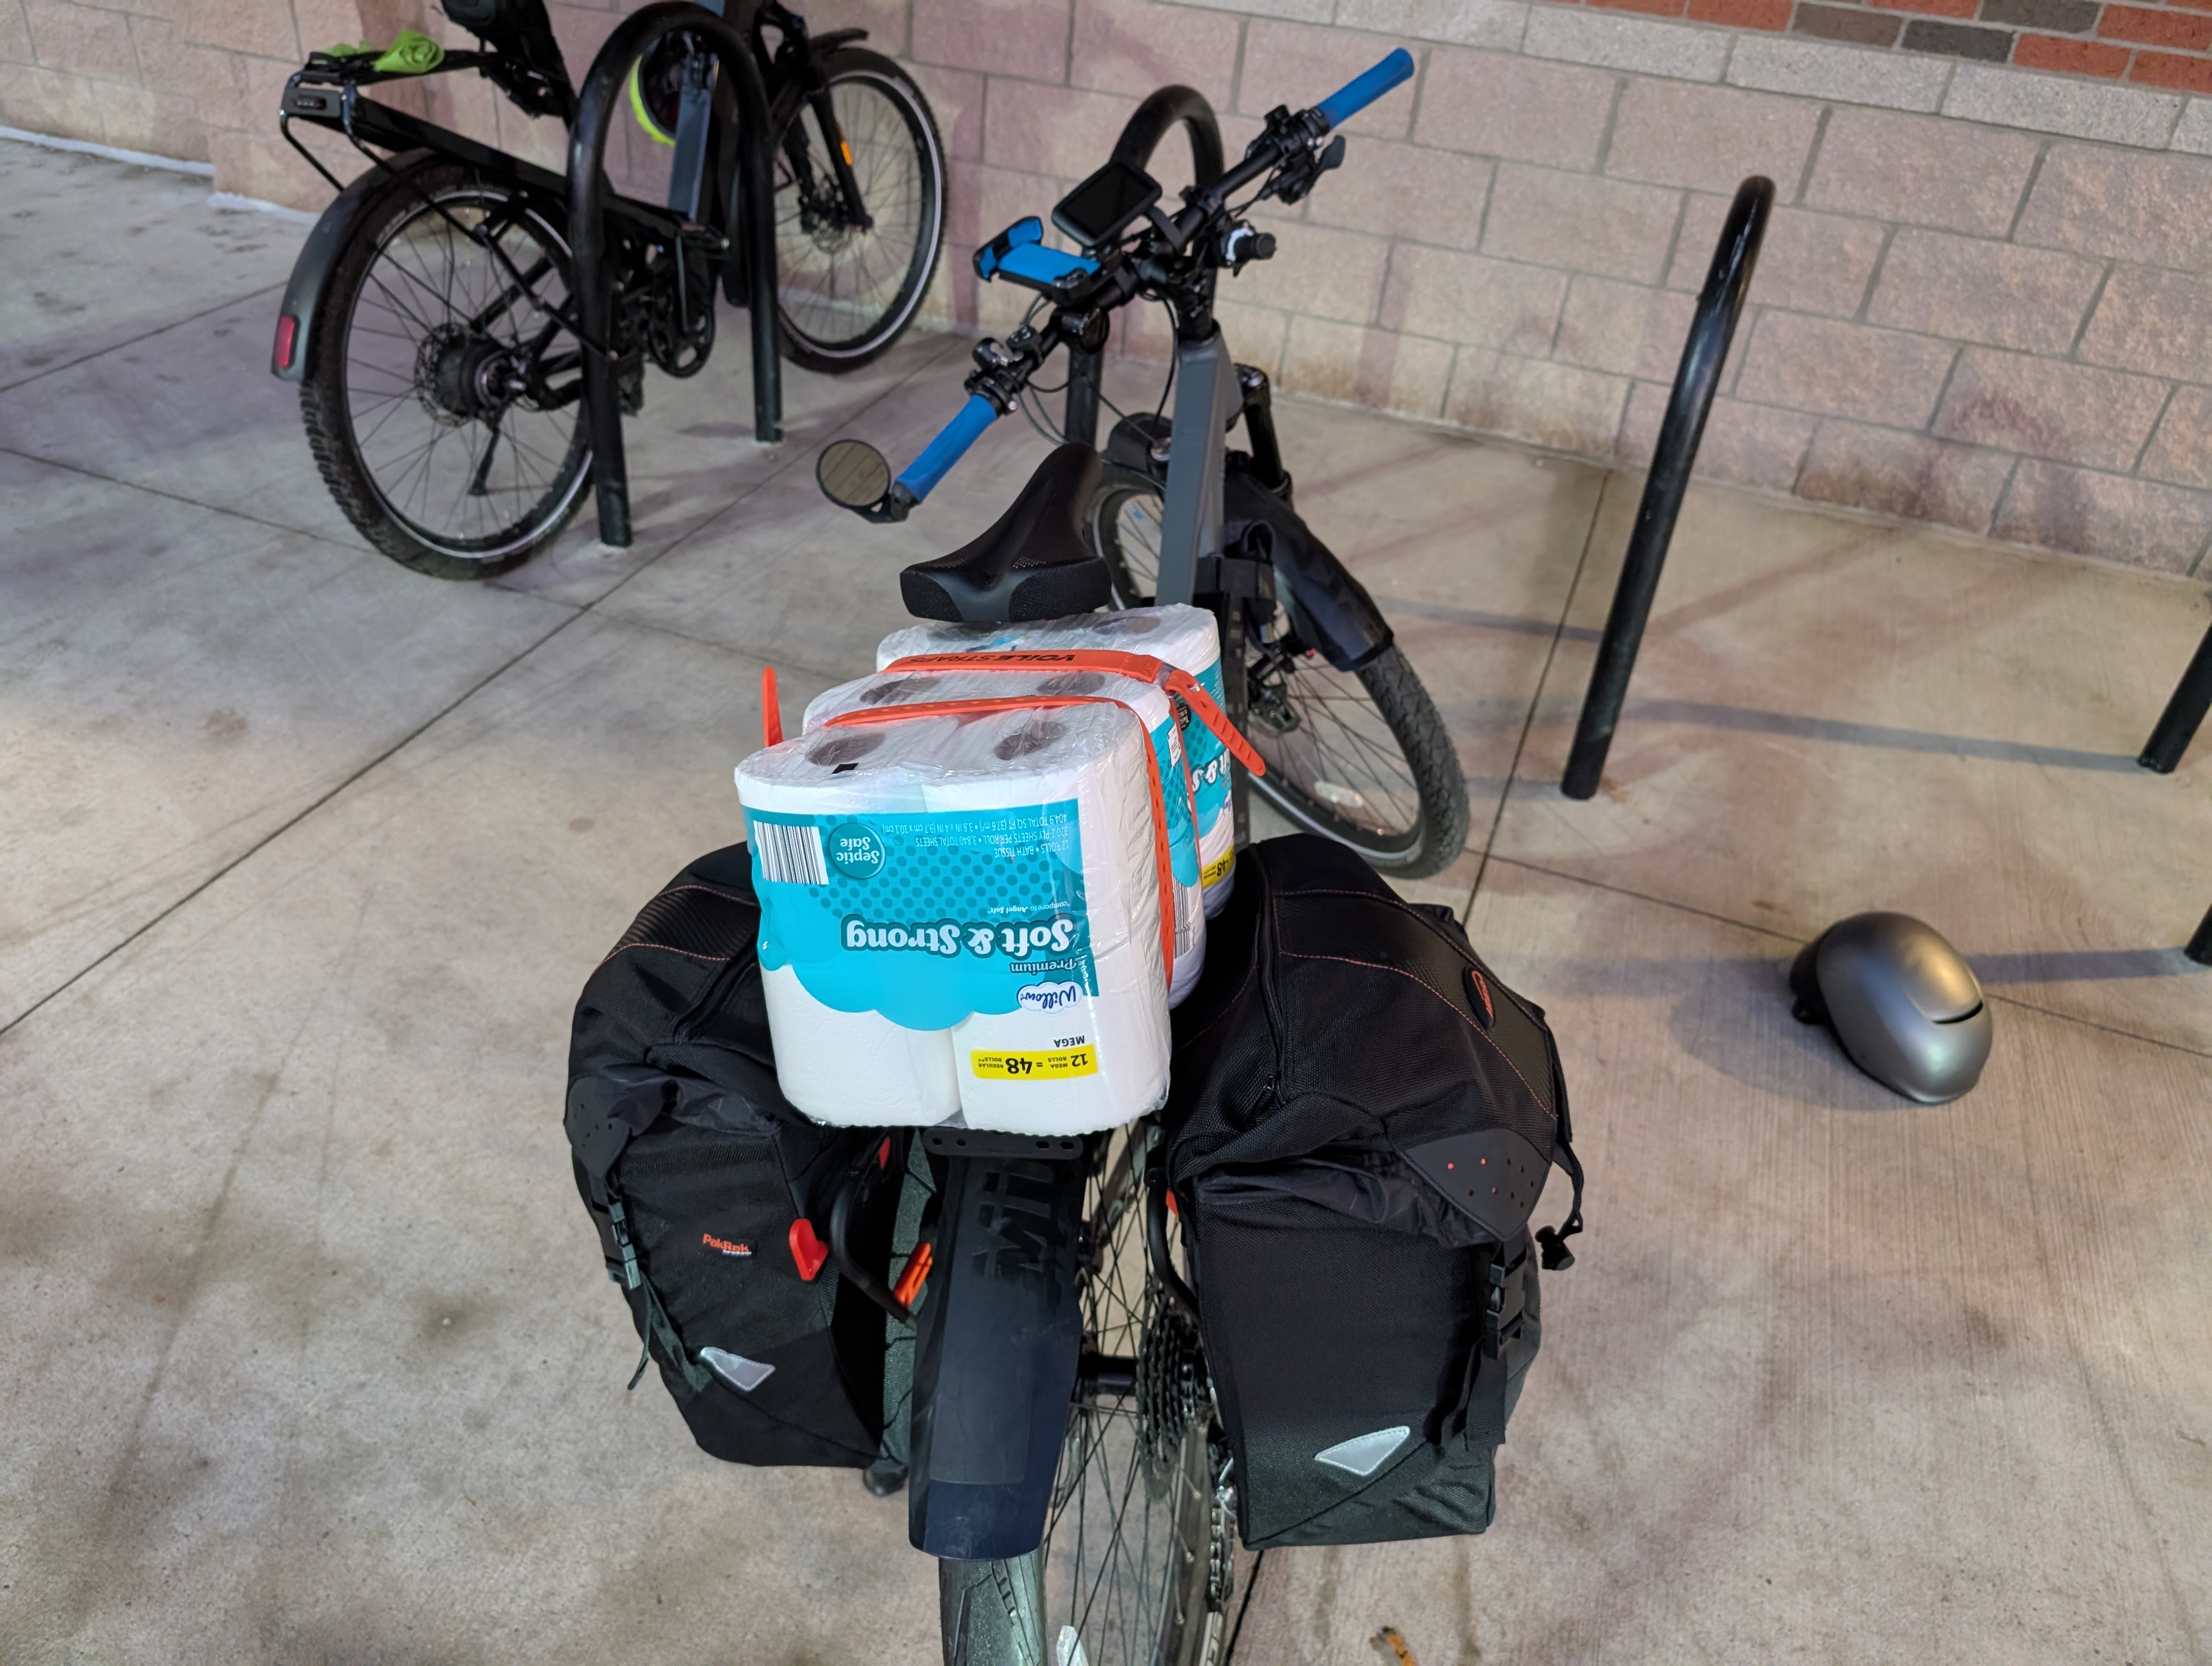
However, this is not where the story ends. Just because the motor is running doesn’t mean my work is done, I still have a few more things to finish up: namely my storage situation. I always wanted more storage than the microscopic multitool strap I had on my bike, but I knew any realistic amount of bags would be too much of a burden on my legs which were already cramping on the hills of UM’s North Campus, however now that I was electrified it was a completely different story. I could practically beat the blue buses, carrying a few pounds of bags was no big deal and would finally free me from carrying my ginormous lock in my backpack plus allow me to do grocery shopping without attaching bags to my handlebars and trying not to steer into innocent pedestrians. Thus the rack and quick release panniers were installed onto the bike. Additionally, I added some very rugged straps to be able to carry oversize loads. It was basically complete!
The Bad and the Ugly
I started running the bike daily, sometimes getting up to 10 miles of biking done in a day. I enjoyed the life out of the bike and it was a hoot and a half. However, around the 100 mile mark the motor’s controller unexpectedly died on me on the way back home.
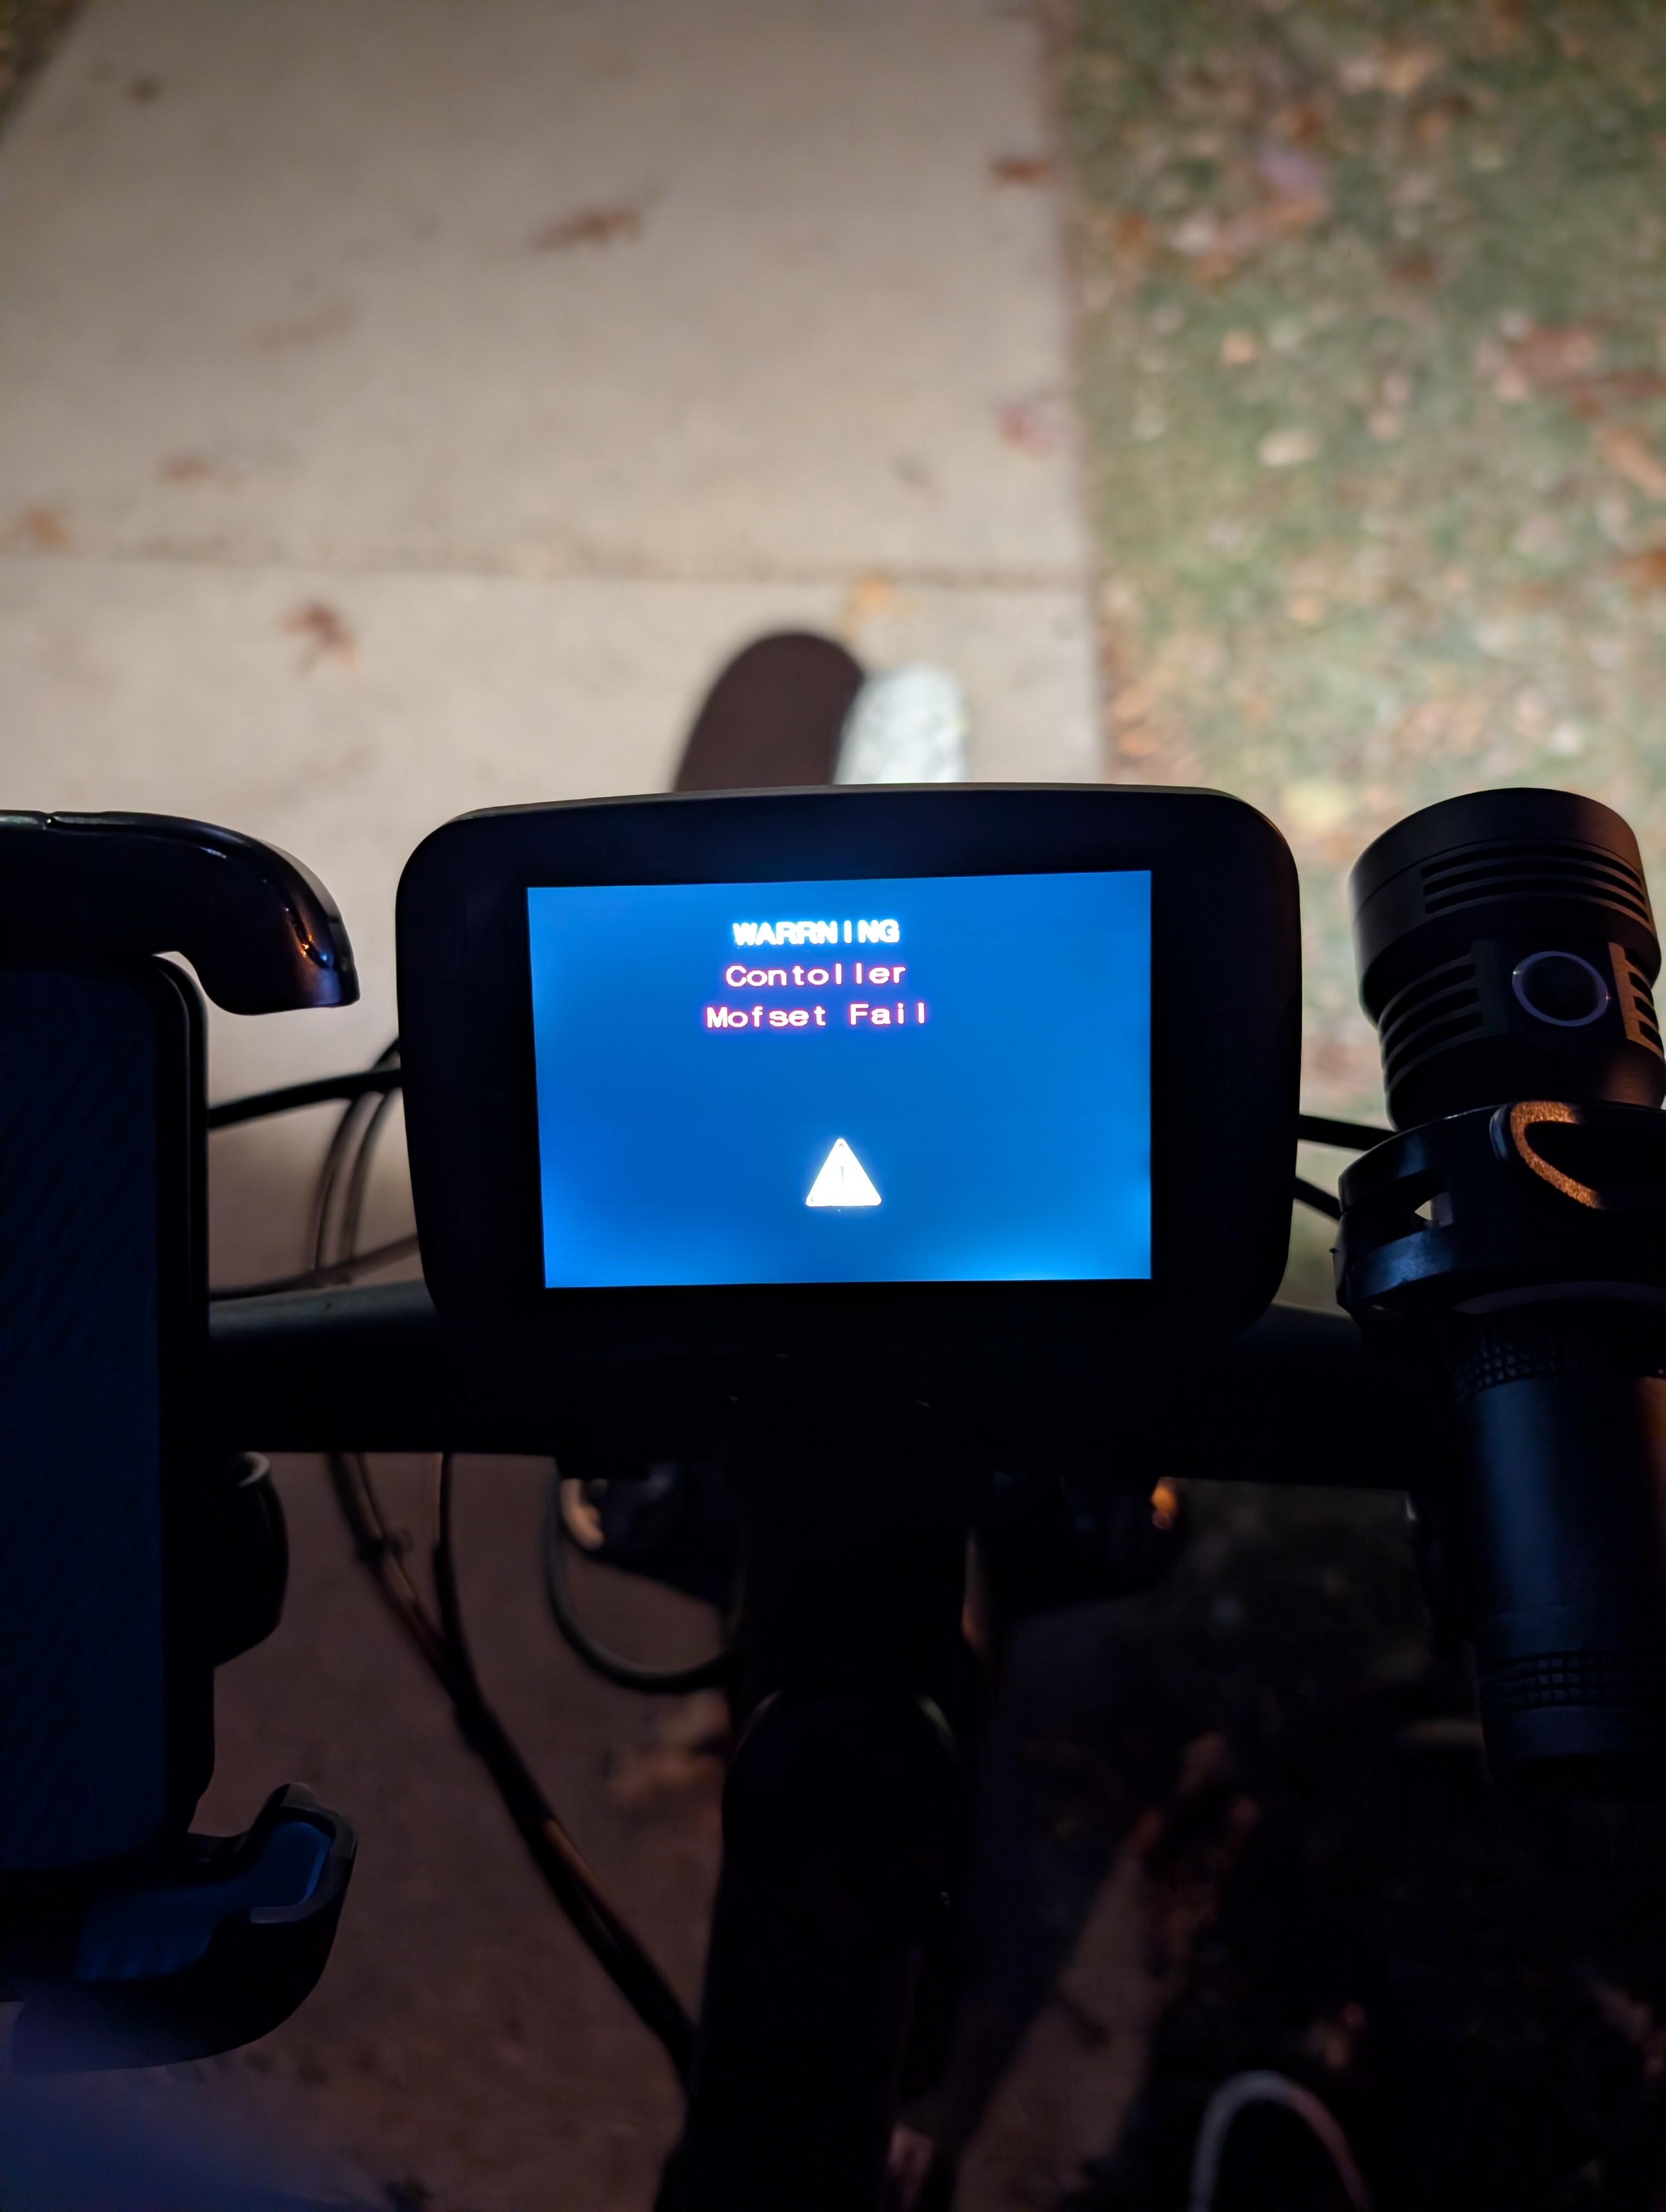
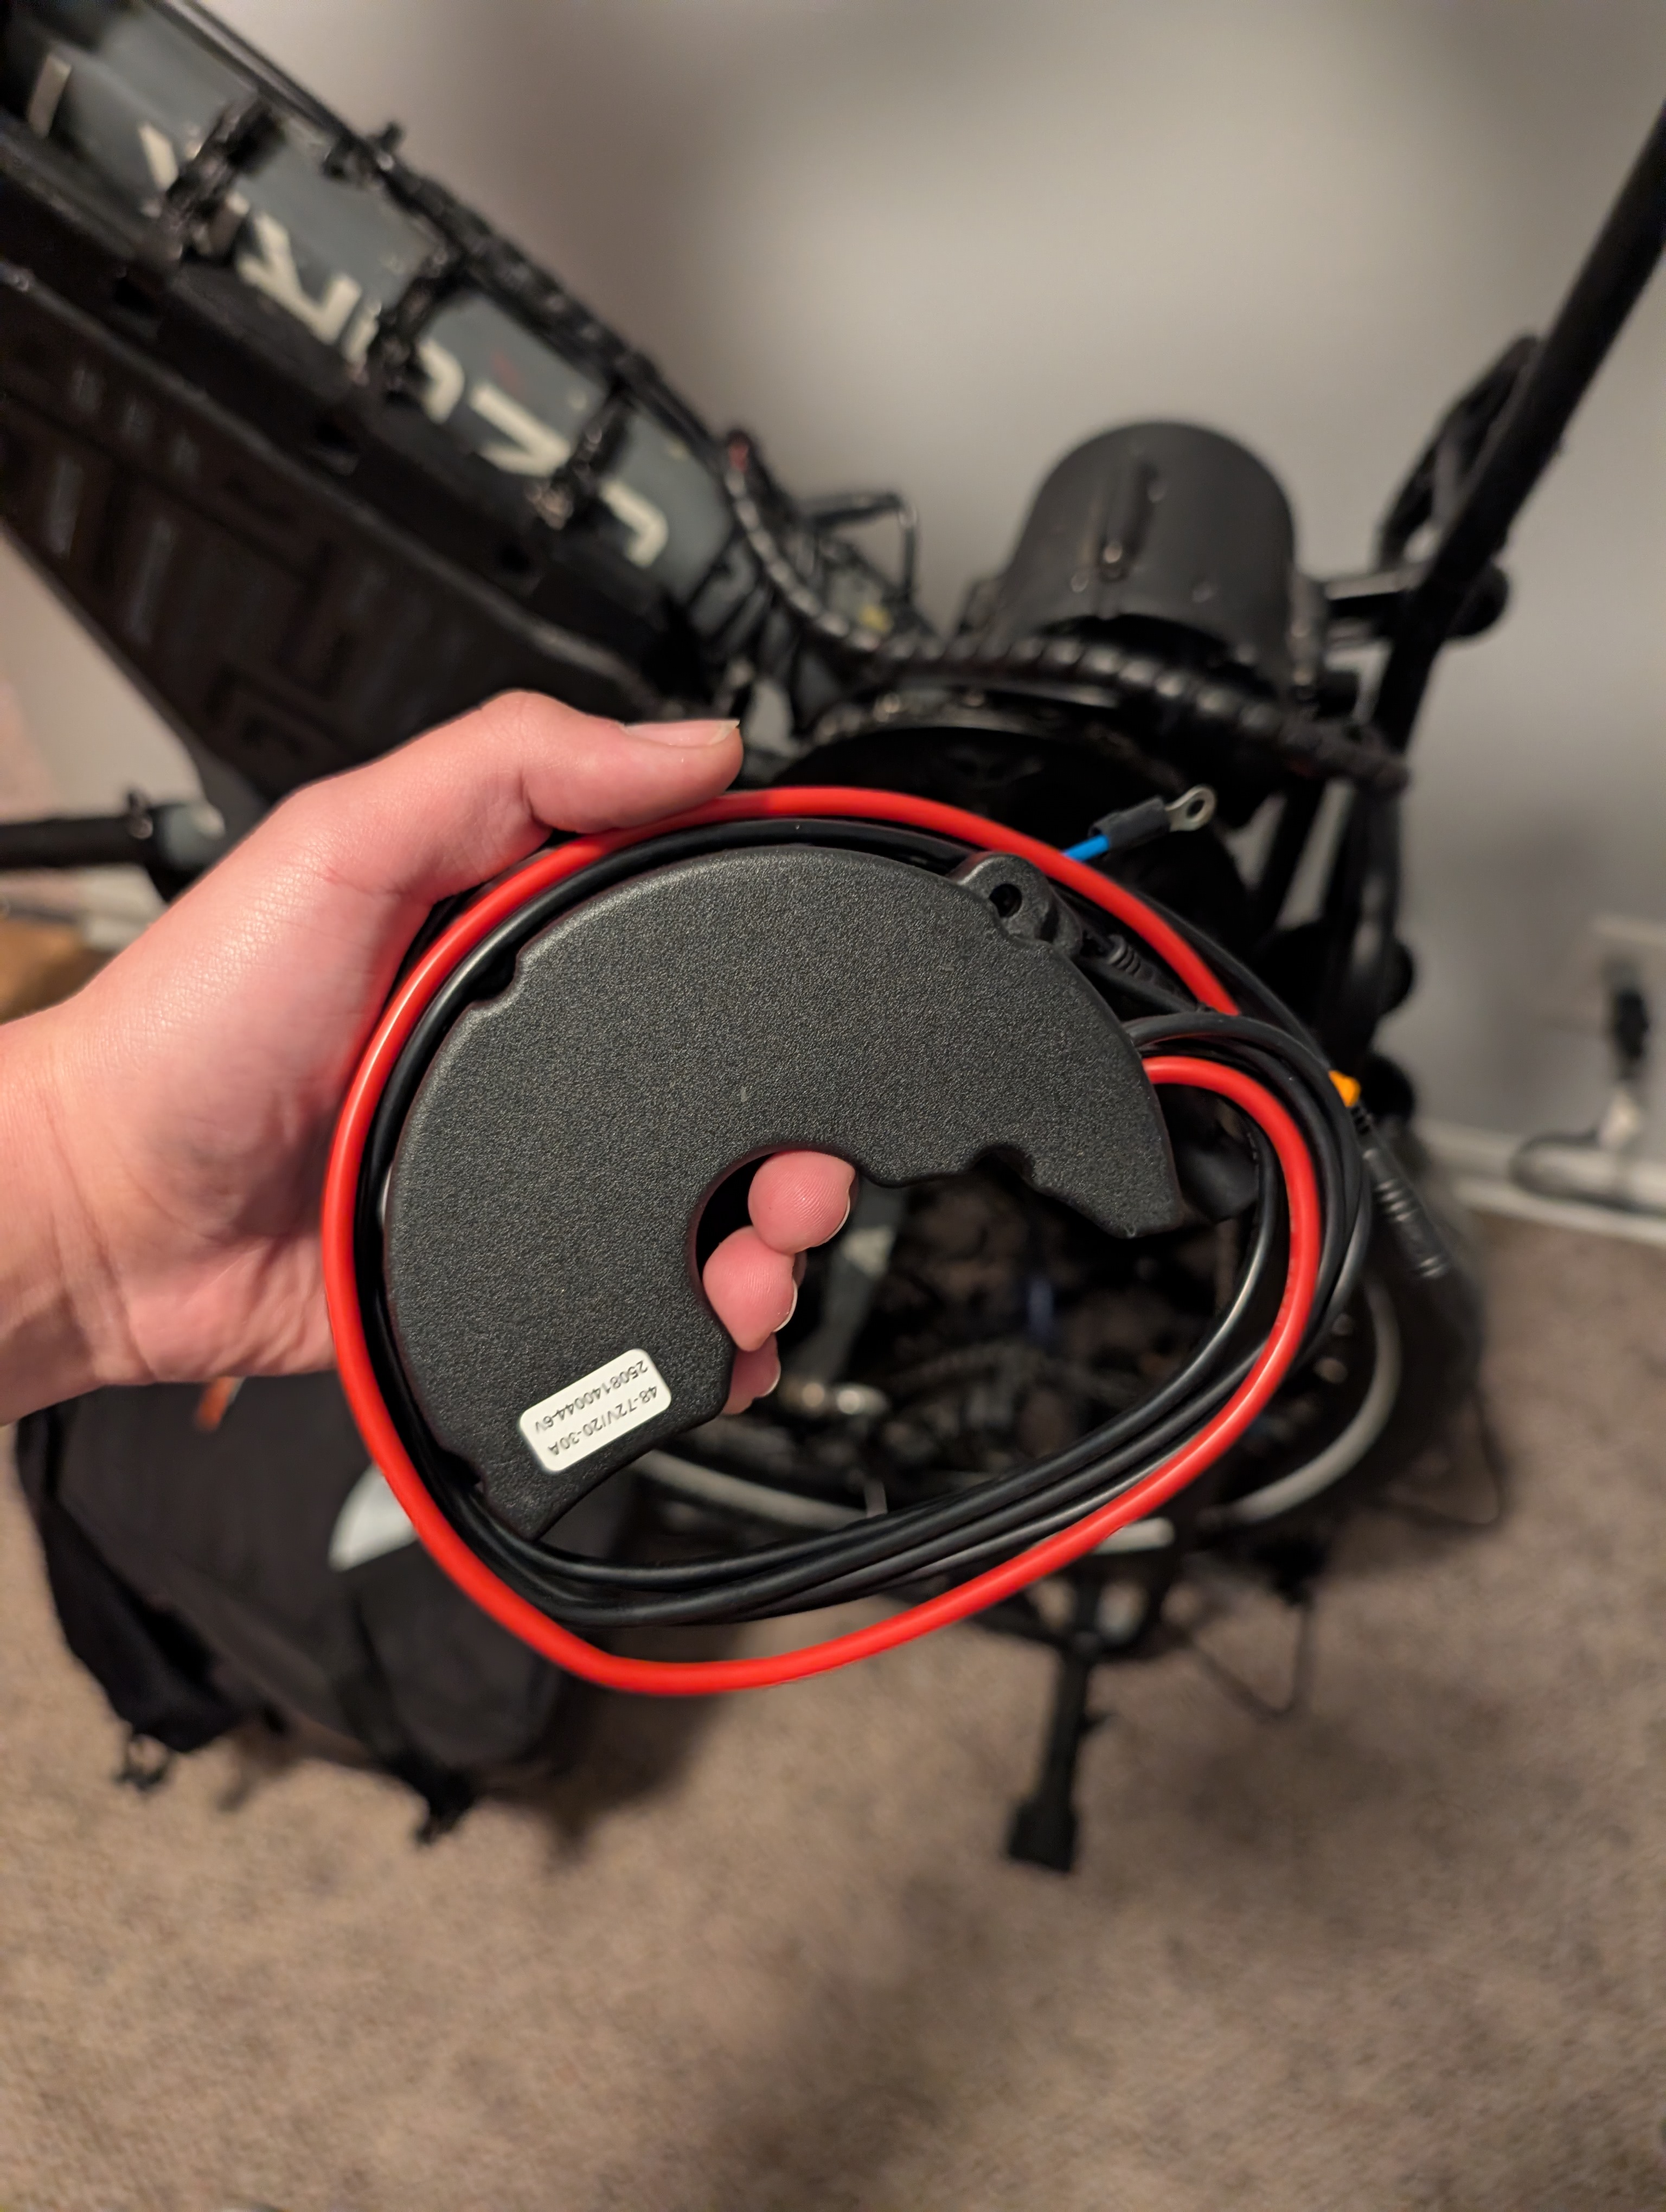
Thankfully it died out just a few blocks from my house. I parked the bike and then skipped my club meeting, too depressed to go. I had previously heard about controller failures on ToSeven motors, people seemed to speculate whether new firmware or hardware was the cause of failures, but I always kept my fingers crossed and hoped it wouldn’t happen to me. Yet here it was in front of my face: a controller death. Thus I emailed my motor seller hoping to have it warrantied and resigned myself to the bus once more.
Soon after, I was sent a replacement controller which I promptly replaced once I got back from thanksgiving break and I made sure to update it to the latest firmware, as I had with the previous one.
So we’re done… right? Unfortunately, there’s always one last thing with these projects… however I promise you this one’s simple.
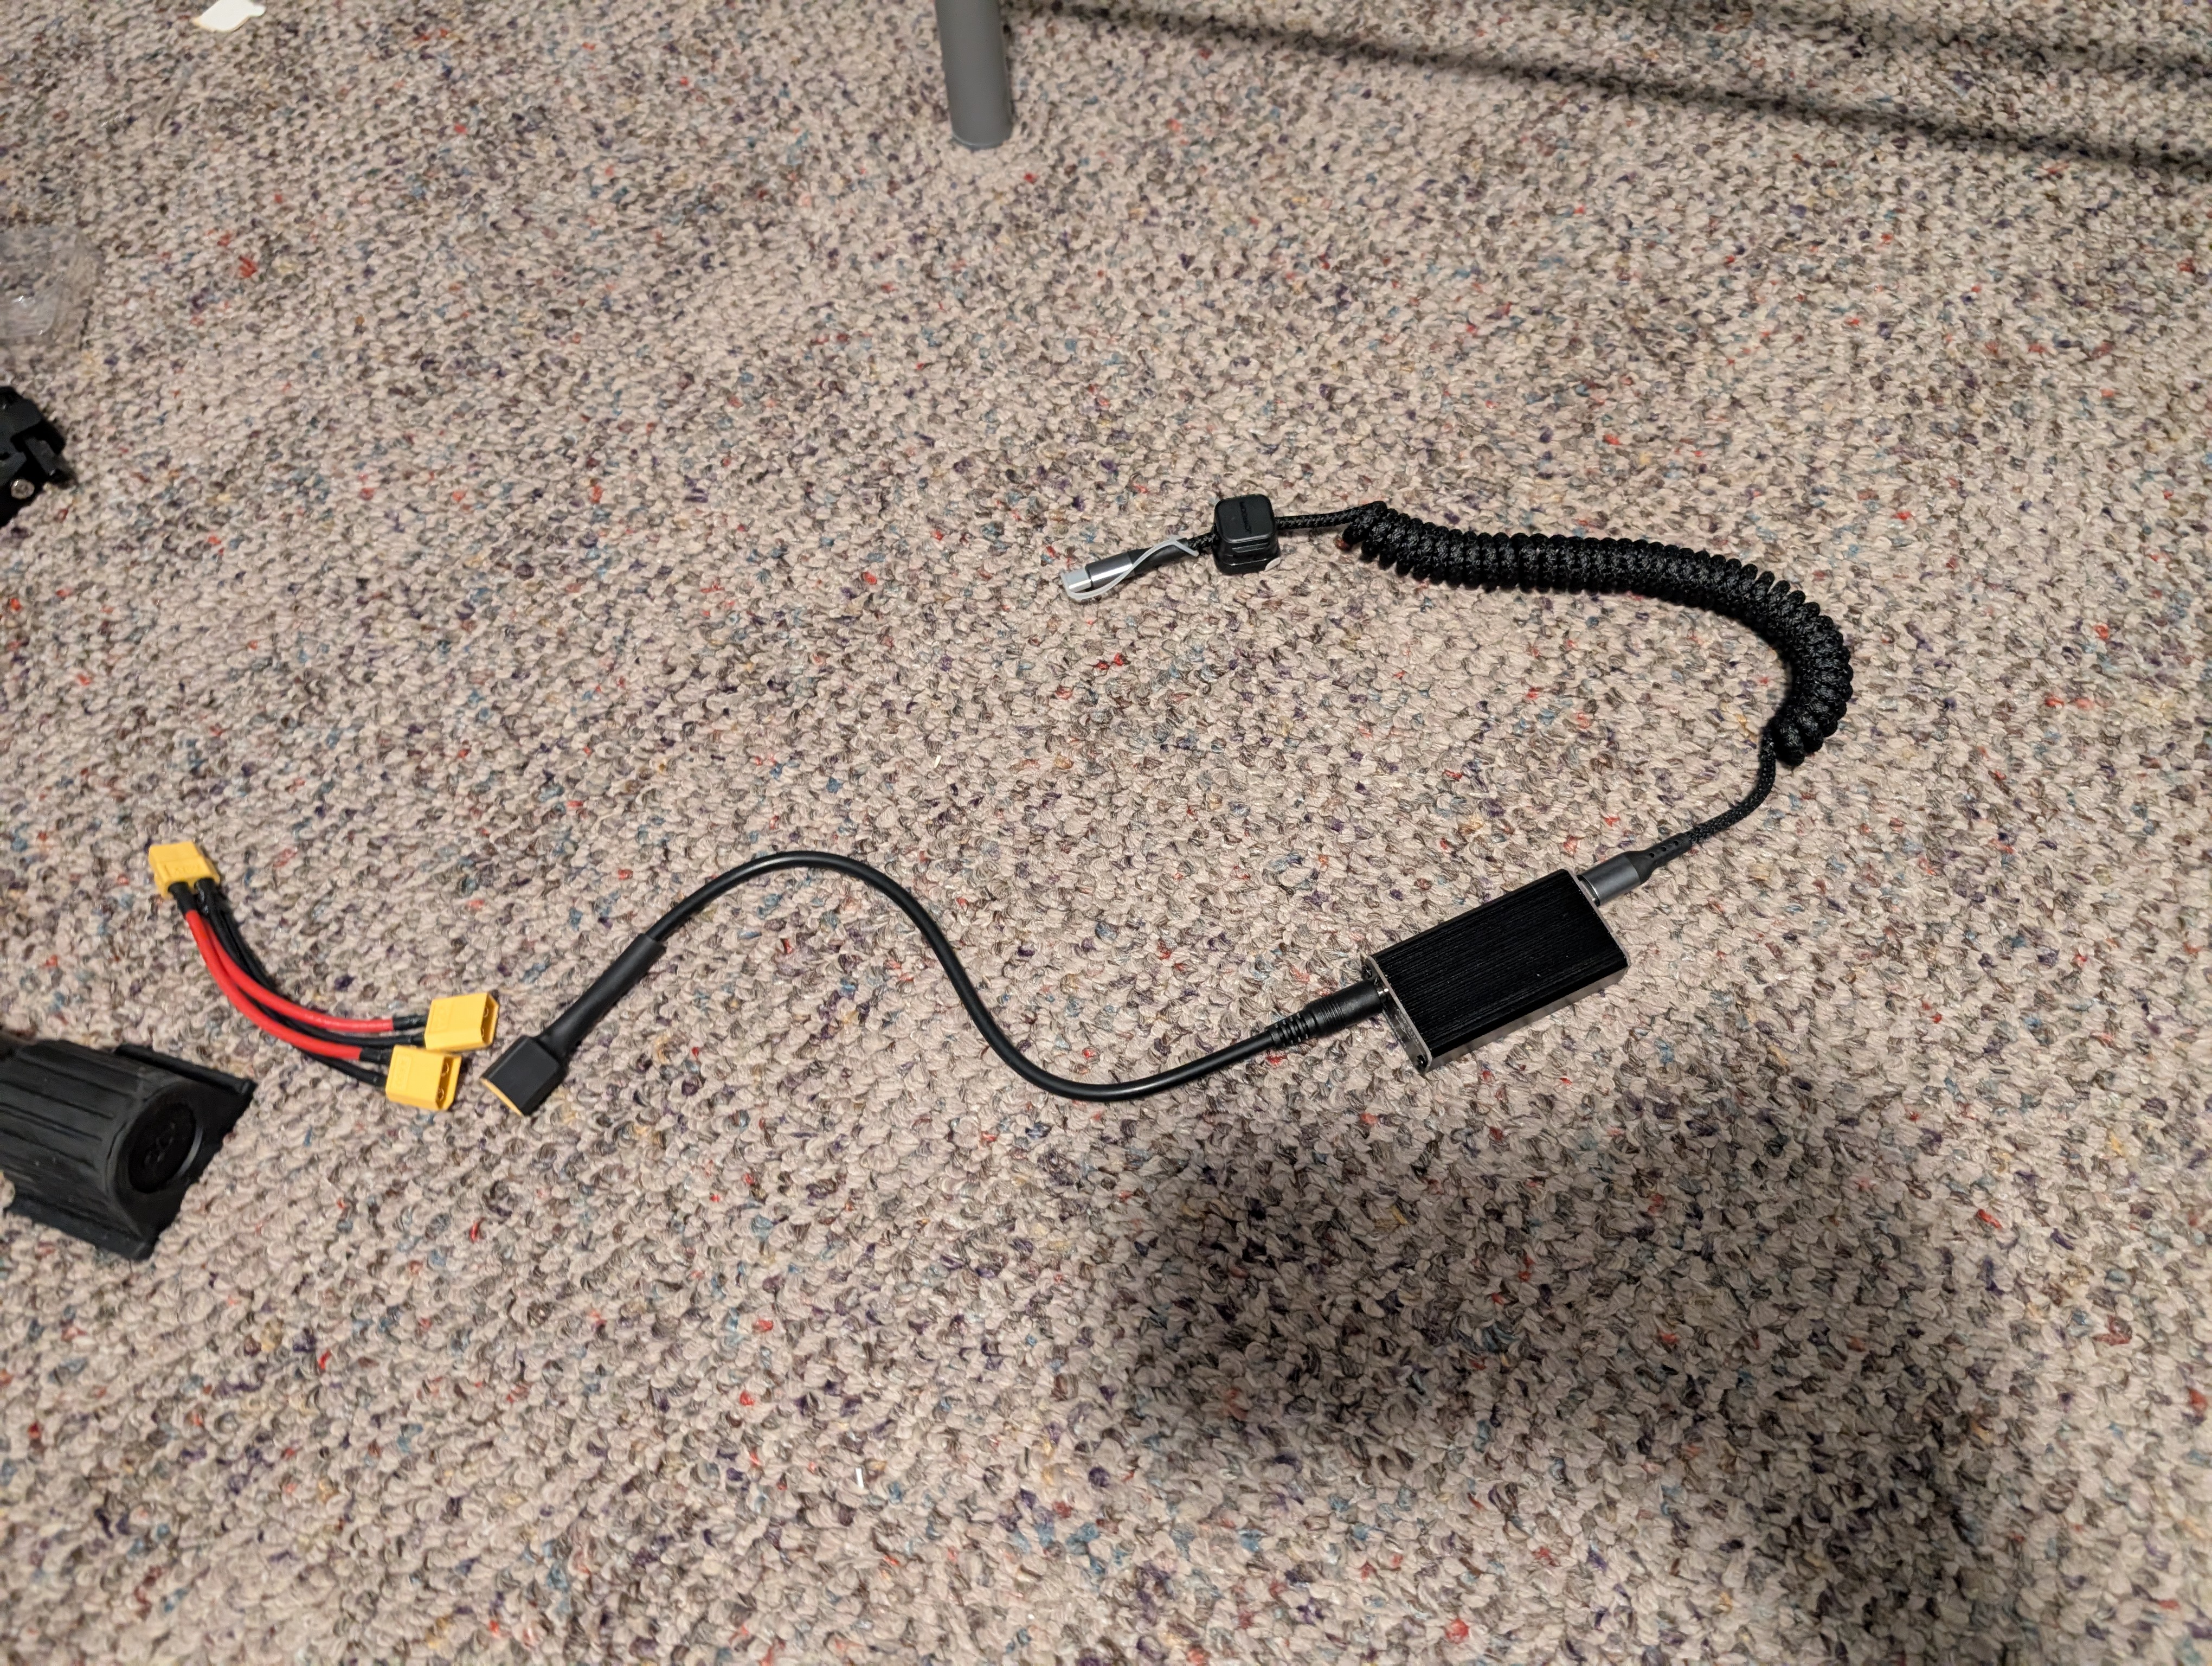
My headlight is battery powered and I don’t ever want to run the risk of it dying on me, so I want a USB-C charger that runs off of the high voltage battery so I only ever need to charge one thing, plus I want it to serve as a fast charger for my phone as well. Finding something that fit the bill was actually surprisingly difficult, as it had to be able to convert 52v into a USB PD compatible output, a bit of a weird ask, but one order from China later and some daisy chaining, I was able to get it all done. I split off the charge power port from the battery using a Y cable and left one end with a cover for charger and the other connected to my USB fast charging setup, complete with a coiled cable and silicone covers on everything for dust/water protection.
Unfortunately, with the snow upon me in December, I decided to relegate the bike to the house, as my nerves about ice on the ground were still quite intense. Then, as I started the Winter 2026 semester, I began to bike once more and enjoy the lovely life with my bike when once again… the curse struck. Just as I got to my house, finishing the last hill to climb, the motor died. I’m starting to think that there’s a quarter mile field around my house that destroys e-bikes or something.
As of this article’s original publication the bike had died once more, completely losing power up a hill without any display warnings to indicate why. After contacting my vendor and waiting a while I received the advice to check the connector for the hall effect sensor on the controller. I checked it and although it wasn’t disconnected, replugging it and restarting did make the motor work again! I have updated the bike to the latest control firmware, but given the amount of snow at this time of year (it’s January), I still haven’t had a good test ride on the bike. For now this is where it stands
How does it ride?
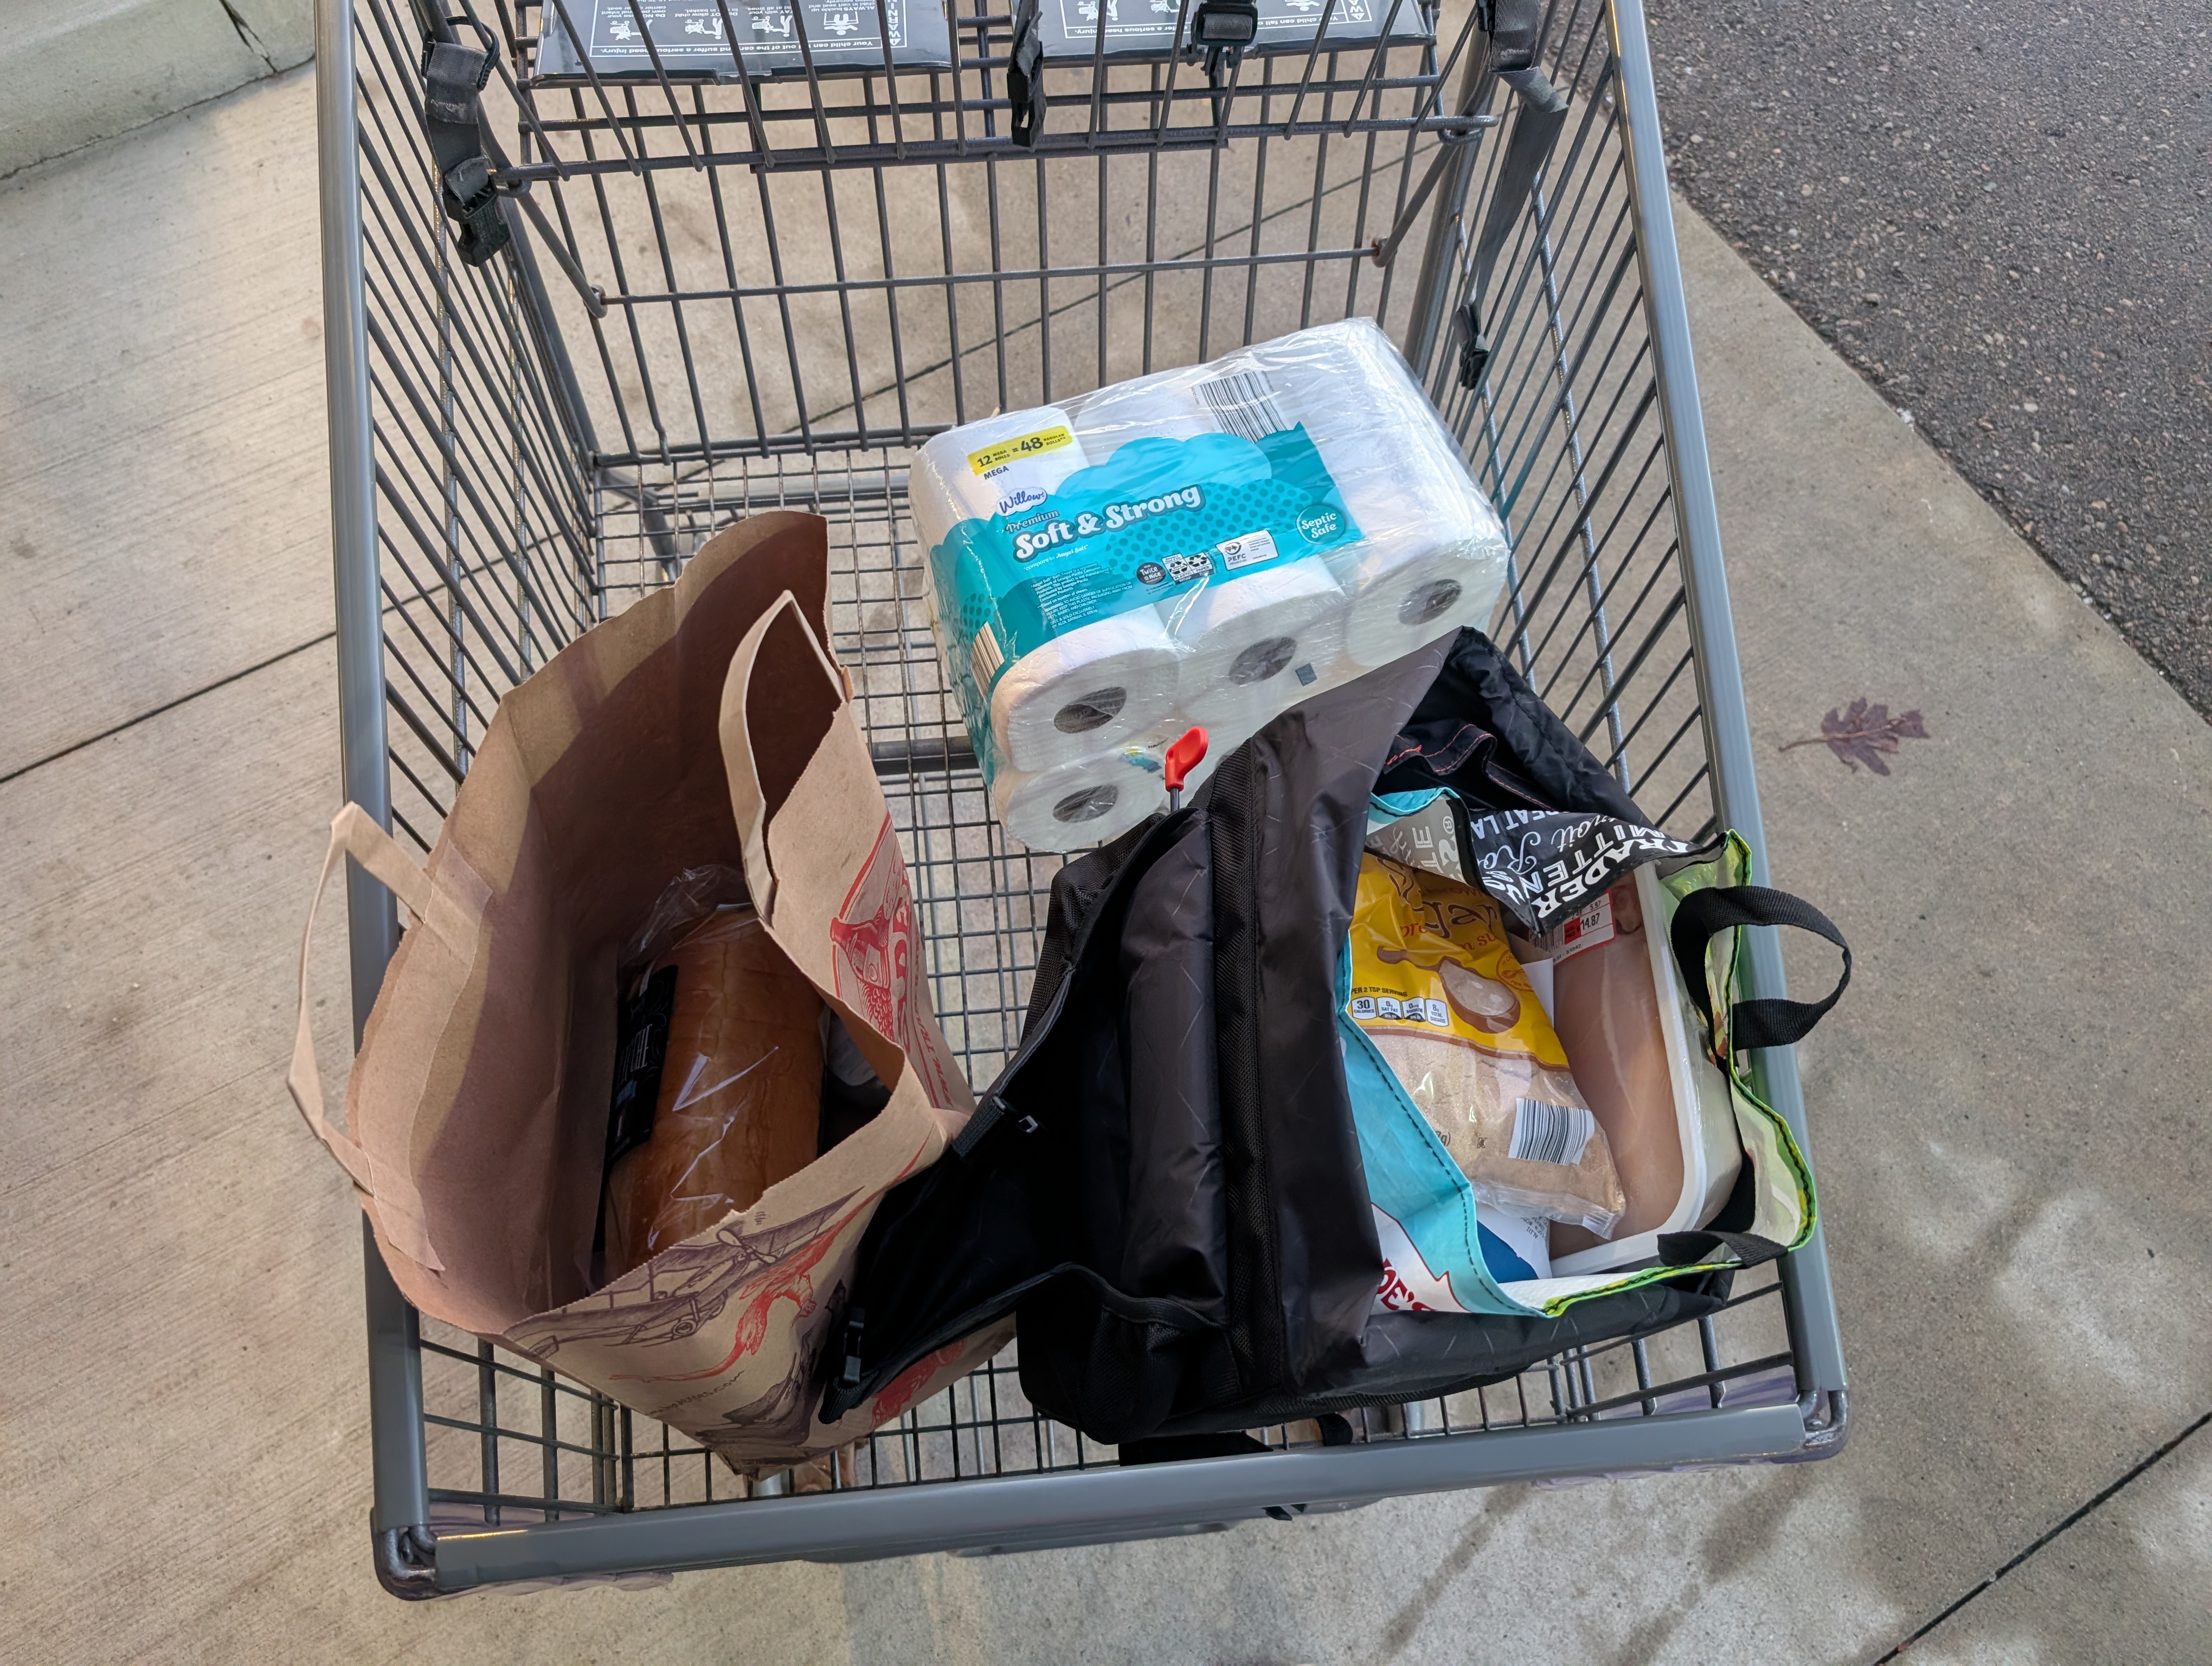
Amazing! Especially at higher tire pressures with my staggered tire setup it feels incredibly stable and the suspension is great. The bicycle can keep you doing exercise even while you soar past hills at high speeds. It’s even practical enough to do some very big shopping with it. I once did a whole trip to Aldi where I bought a huge rack of chicken plus toilet paper and it actually all fit, although a bit tight.
I would love to have a small riding demo video here, but unfortunately since there’s a lot of snow on the ground I haven’t been able to record anything new. If I do make a formal riding video, hopefully comparing it to my friend’s “acoustic” bicycle, I’ll be sure to add it to this section.
The bottom line
Building this bike has been a dream years in the making, ever since I first saw that Tom Stanton video some 6 or 7 years ago. It’s crazy to think that I actually own the chain destroying, tire shredding rugged e-bike I dreamed of all those years ago, but here it is. I love the crap out of it and exercising with it has genuinely been great for my health, both mental and physical.
Is it the best value e-bike? No, I think you can get something more reliable that doesn’t push as much peak power and be just as practical. If you want to just go fast you can get a used motorcycle for what I bought, or heck, probably make your own low-power e-moto or moped class vehicle if you know what you’re doing. If anything, I think you should get a cargo or longtail e-bike (something like an electrified longtail or bakfiet style bike) and you could probably be even more practical than what I’ve shown, possibly even carry kids around.
That said, I think this bike rides great, it’s very fun and if you can deal with its newly added weight it’s probably still a sick mountain bike. I think I could have slashed the budget a little bit with some wiser part choices, better value initial bike or compromised on power but I am really happy with what I ended up with and I feel it’s a showpiece for something I’ve really put my blood, sweat and tears into.
Special thanks
Big thanks to my dad who helped me pay for the vast majority of the parts for this project.
Thanks to Eddie who drove me to Walmart on a random day of the week and shoved my bike in his car.
Thanks to the University of Michigan who gave me a great grant which let me take some of the financial weight off of my family as I built this bike.
Huge thanks to Common Cycle and all its volunteers that took their time to help me with things way outside their usual line of work.
Thank you to all the friends and family that excitedly asked me about the project or listened to me talk about it good or bad. It’s been a long journey and I hope you get to read this part <3
FAQ
Does it have a name?
- Yes, Frankie after Eddie Van Halen’s guitar. I found it appropriate given it is also a Frankenstein of parts. If I was a different kind of nerd I’d probably name it Theseus instead.
How fast does it go?
- At least 27MPH, I can’t tell you if it goes more than that…
How far can you go on a charge?
- This varies highly on speed and how much you pedal versus using electric power, but I would guess it’s anywhere between 20-45 miles on a single charge. I haven’t gotten to test it enough to say, but I think it can do my week of commuting without needing a recharge.
How expensive was it?
I don’t have the most exact bookkeeping in the world, but I tried to keep things pretty itemized and include some of the tools I needed for the project, but it’s around $3,500, more if you want to include the cost of my helmet, lock, bike stand, etc. My personal spreadsheet can be found here. The template was also made by Matt Robinson.
Is it safe?
Short answer, it’s safe for me.
Longer answer:
I ride this bike very conservatively, I don’t like being a menace to other road/bikeway/sidewalk users. I basically always rely on some amount of hybrid riding (basically never throttle only) and always judge my speed relative to what I need it to be. The slicker, wide tires, and air suspension lead to a very stable ride even at speed. Cycling, especially in North America, is inherently a dangerous activity, but I would consider this safe in the hands of an appropriately trained rider. I would not give this to a 14 year old, someone with a suspended driver’s license or anything of the sort. I don’t feel this should be sold to a general audience, but I would like a gray area for those who know to be able to enjoy and use these vehicles responsibly.
What about snow?
I’m happy to ride in cold conditions but I try to avoid snow/salt as much as possible. The connectors on the bike are waterproof and I’ve done my best to keep it all in order, but salt eats up chains and sprockets like nobody’s business and I’d rather not lose my bike to it. If I do ride with salt on the ground I’ll try to always spray water on it at the end of the day to avoid any buildup.
How much does it weigh?
A good amount but probably light compared to an equivalent e-bike from a manufacturer. I’d estimate it weighs 70-80lbs just from the weight of the bike when stock, motor and battery all added together and some margin of error. If you’re really curious then just mail me a fish scale and I’ll measure it.
Technically this is actually the revolutions of the crank, the pedals are connected to the crank arms which rotate around the crank but the pedals themselves only rotate with your foot’s orientation, but I think most people understand this to be the same thing. ↩︎